Review
Review: The Polaroid Lab
Seven years after The Impossible Project’s “Instant Lab” - The Polaroid Lab is released, and we’ve been putting it to the test to see if it’s a valuable tool to add to a photographer’s kit.
What is the Polaroid Lab?
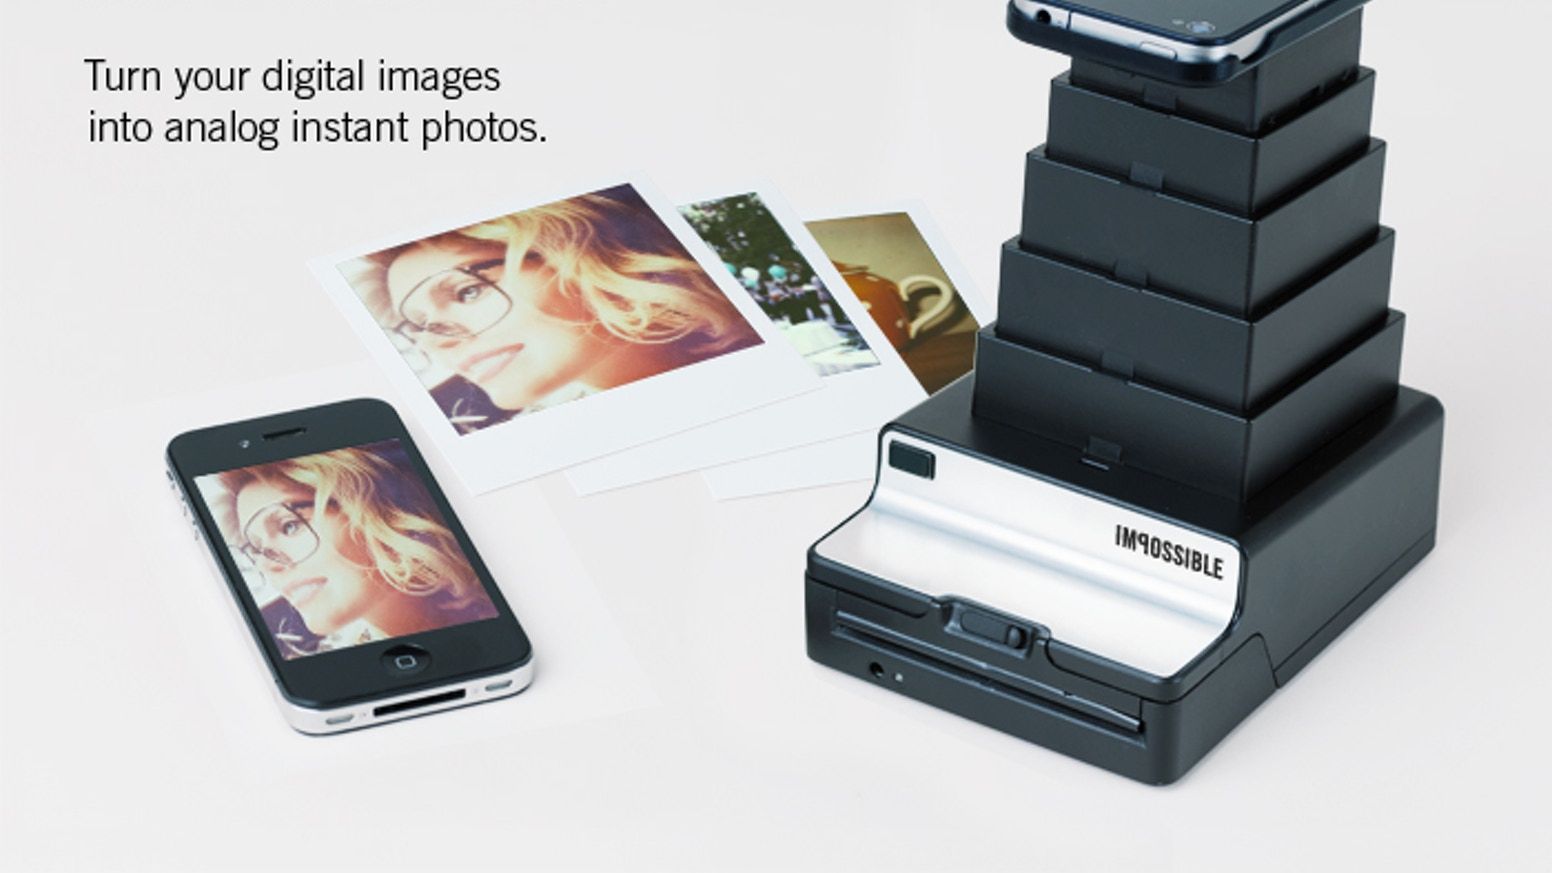
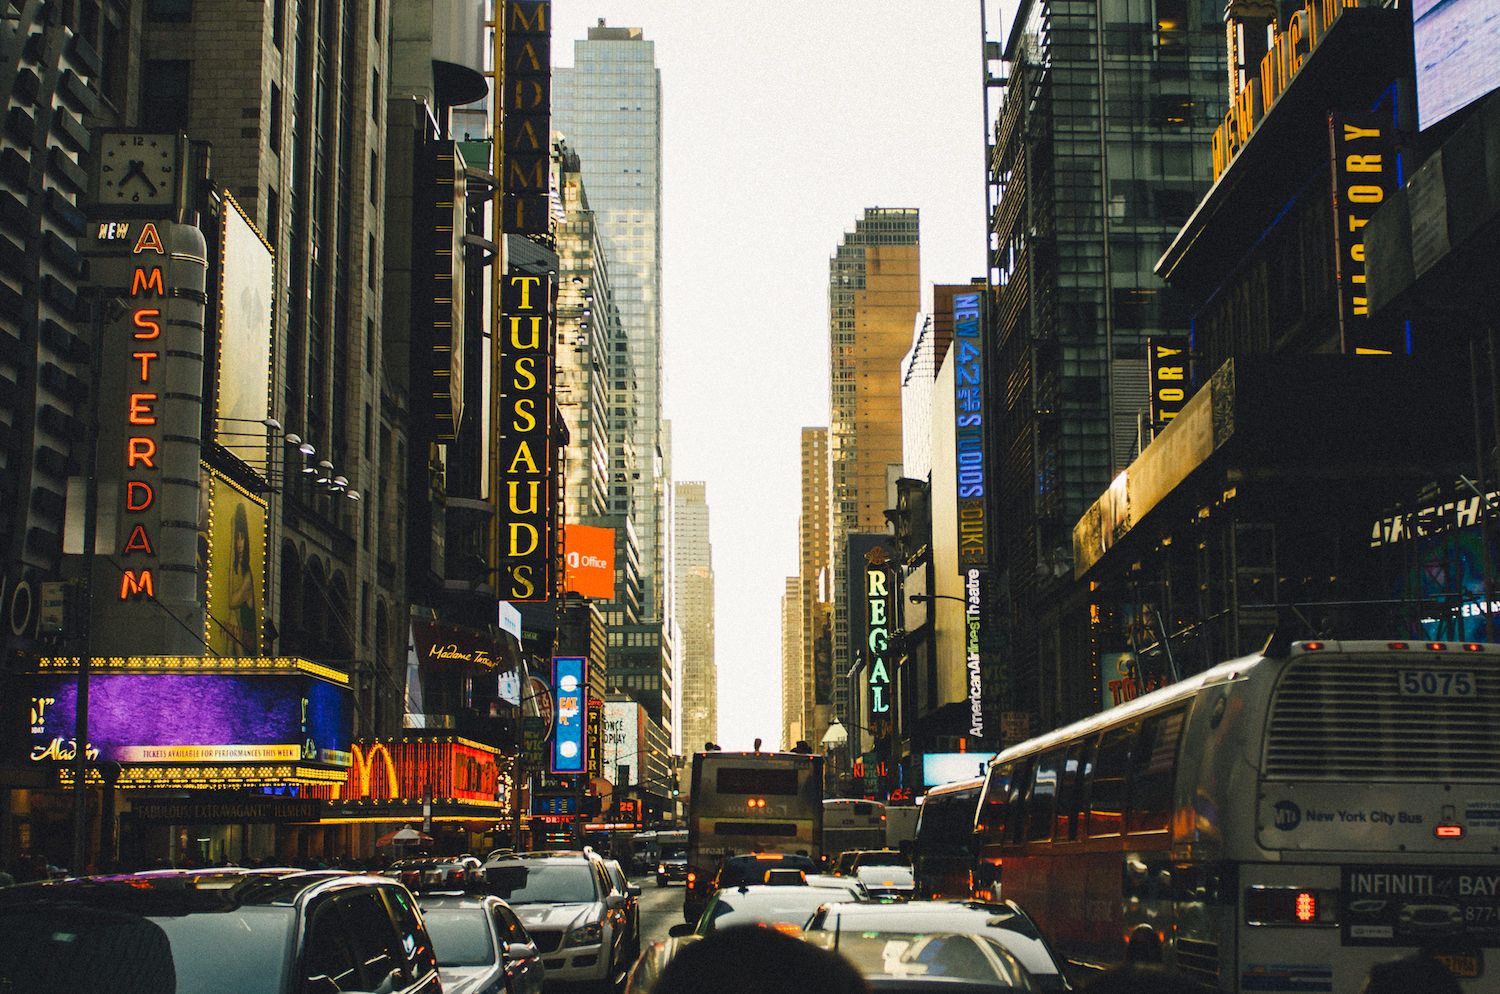
The Polaroid Lab is a photo printer that turns digital images from your phone into instant prints.
Unlike other printers that connect to your phone via bluetooth, the Polaroid Lab uses a 3-lens system that captures a photo of your smartphone display. This is a unique way to get the photo from your device to the film, one that has advantages and disadvantages over other printers - with the main topics being the size of the device, quality of the prints, and speed of development.
History of the Polaroid Lab
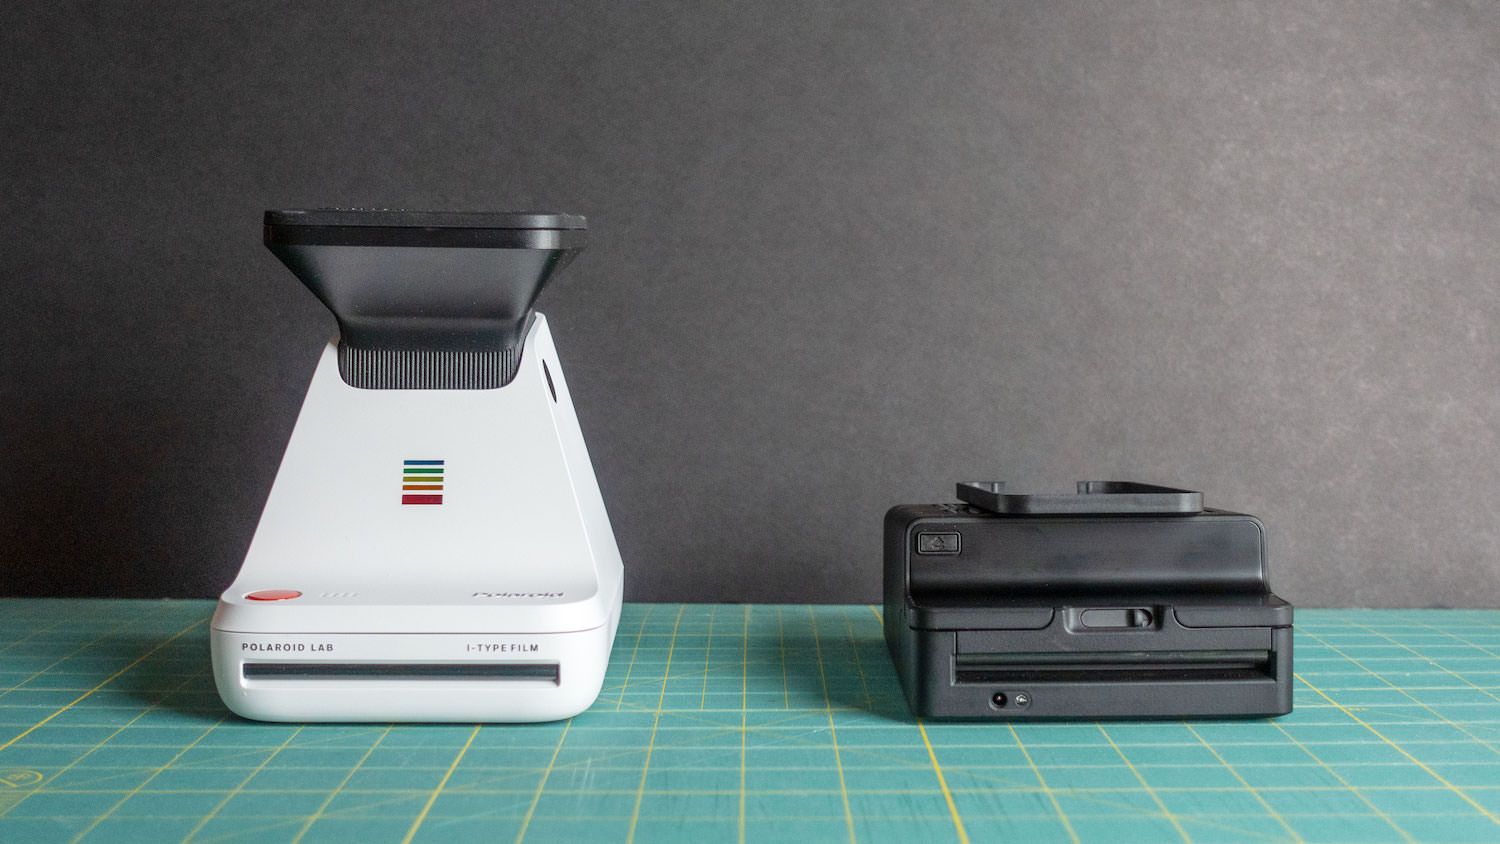
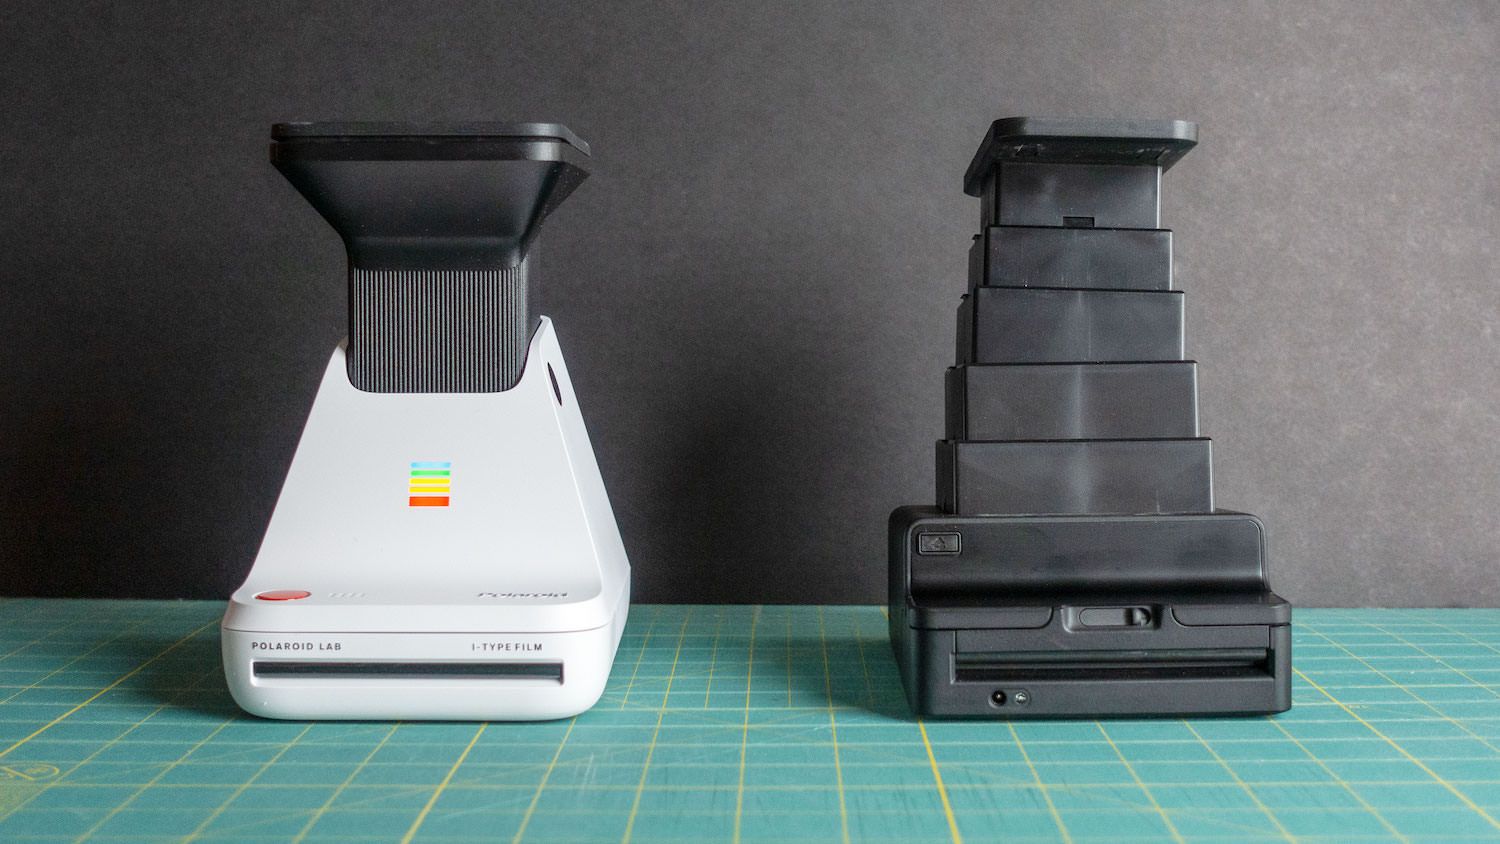
Although the Polaroid Lab was released this year, it isn’t a new concept by any means.
In 2012, The Impossible Project (now Polaroid Originals) - had developed a device called the Instant Lab that was successfully funded on Kickstarter. When you compare the devices side by side, they are very similar. The Polaroid Lab brings a new design, and also addresses some of the concerns many had with the Instant lab.
We won't cover the Instant Lab in this review, but many of the concerns - battery life, reliability, build quality, and the design - that people had with the Instant Lab have been worked on and improved with the new Polaroid Lab.
Overview
Part of us is still torn on the idea of turning digital photos into instant photos, as if it were a sin to film photography. It blurs the lines of what is and what isn’t truly analog.
The act of turning a digital photo into an instant print is still very fun, and similar to the experience of using an instant camera, if you've used one before - but how you use the Polaroid Lab will be different for everybody.
For the purposes of this review, we’ll be taking a look at how the Polaroid Lab can fit into your photography workflow as a tool - rather than focusing on it as a device to turn your digital memories, analog.
We’ll be covering the following topics:
- Design of the Polaroid Lab
- Polaroid duplication quality
- Overall print quality
- Mosaic tests
- Lowest quality source image
- Augmented Reality feature
- Printing BW Images on Colour film
- Printing Double Exposures "in-lab"
- PO App/Overall Process
Polaroid Lab Design
The design of the Polaroid Lab is sleek, sharp, and modern. It's also quite unique as a display piece that is sure to spark conversation.
One thing about the new design is that it is still very large when closed - in comparison to the previous Instant Lab or other smartphone printers. While possible, the Polaroid Lab isn't an item you can easily travel with or pack in a backpack.
Another downside we noticed is that there is no way to attach the protective cover that prevents dust and scratches from attacking the Lab. The cover is made of a flexible rubber that simply rests on top of the Lab with gravity. There is no way to click or friction-fit the cover to the Lab, the only solution we found would be to use a rubber band or tape one side of the cover to the Lab like a hinge.
One of the few buttons on the Polaroid Lab is the large red button used to operate the Lab. It’s very reminiscent of the distinct red button often found on Polaroid cameras, used to capture the photo.
Turning on the lab is simple, with the press of the power button it automatically pops up and prepares itself to make a print. Closing the lab when finished requires a firm press downward on the lab - it feels similar to pushing down on a light stand with air support.
Polaroid Duplication Quality
The first test will be the duplication quality - how accurately can you create a duplicate Polaroid of one existing (most likely taken with Polaroid Camera).
This was one of the main reasons we purchased the Polaroid Lab, to see how well we could create multiples of Polaroids that we've shot to share with others but still own the original.
We tested this multiple ways, using different quality source images.
Test 1 - Polaroid app scan
In this first test, we used an image from the scanner in the Polaroid app to see what the quality would be like.
Scanning through the app is the fastest way to turn your instant prints into shareable images for social media, although it can be pretty tricky to get a sharp scan.

The first thing we noticed was the colour difference compared to the original.
The Polaroid Lab did an okay job however the sharpness isn’t there, the alignment of the photo is slightly different, and the colour is way off(mostly due to the iPhone scan). We encounter some of these same issues in the other tests later in this article.
If you are scanning with the Polaroid Originals app and your phone, it's good to keep in mind that the environment that you scan the Polaroid in will impact the scan (ex. if the lighting in your environment is warm, the scan will be warm). We can see this in the different scans below in other tests.
While the photo looks okay on it’s own - if you’re looking to create accurate duplicates of photos to share or sell, this process isn’t going to yield an acceptable result.
Test 2 - Flatbed scanner scan
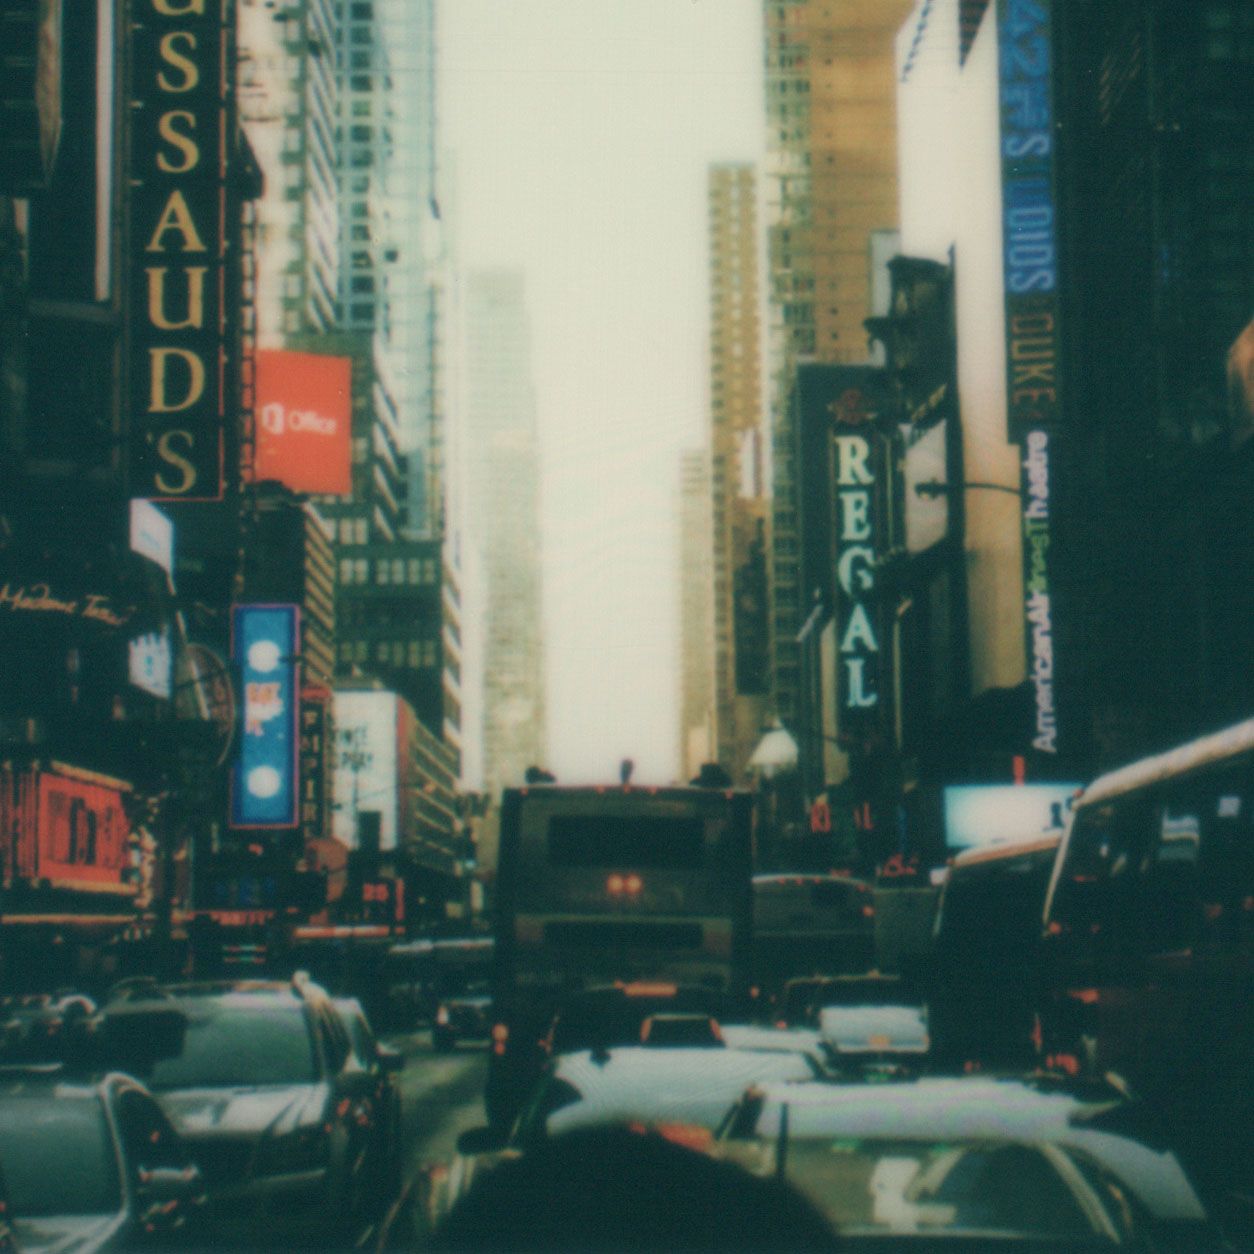
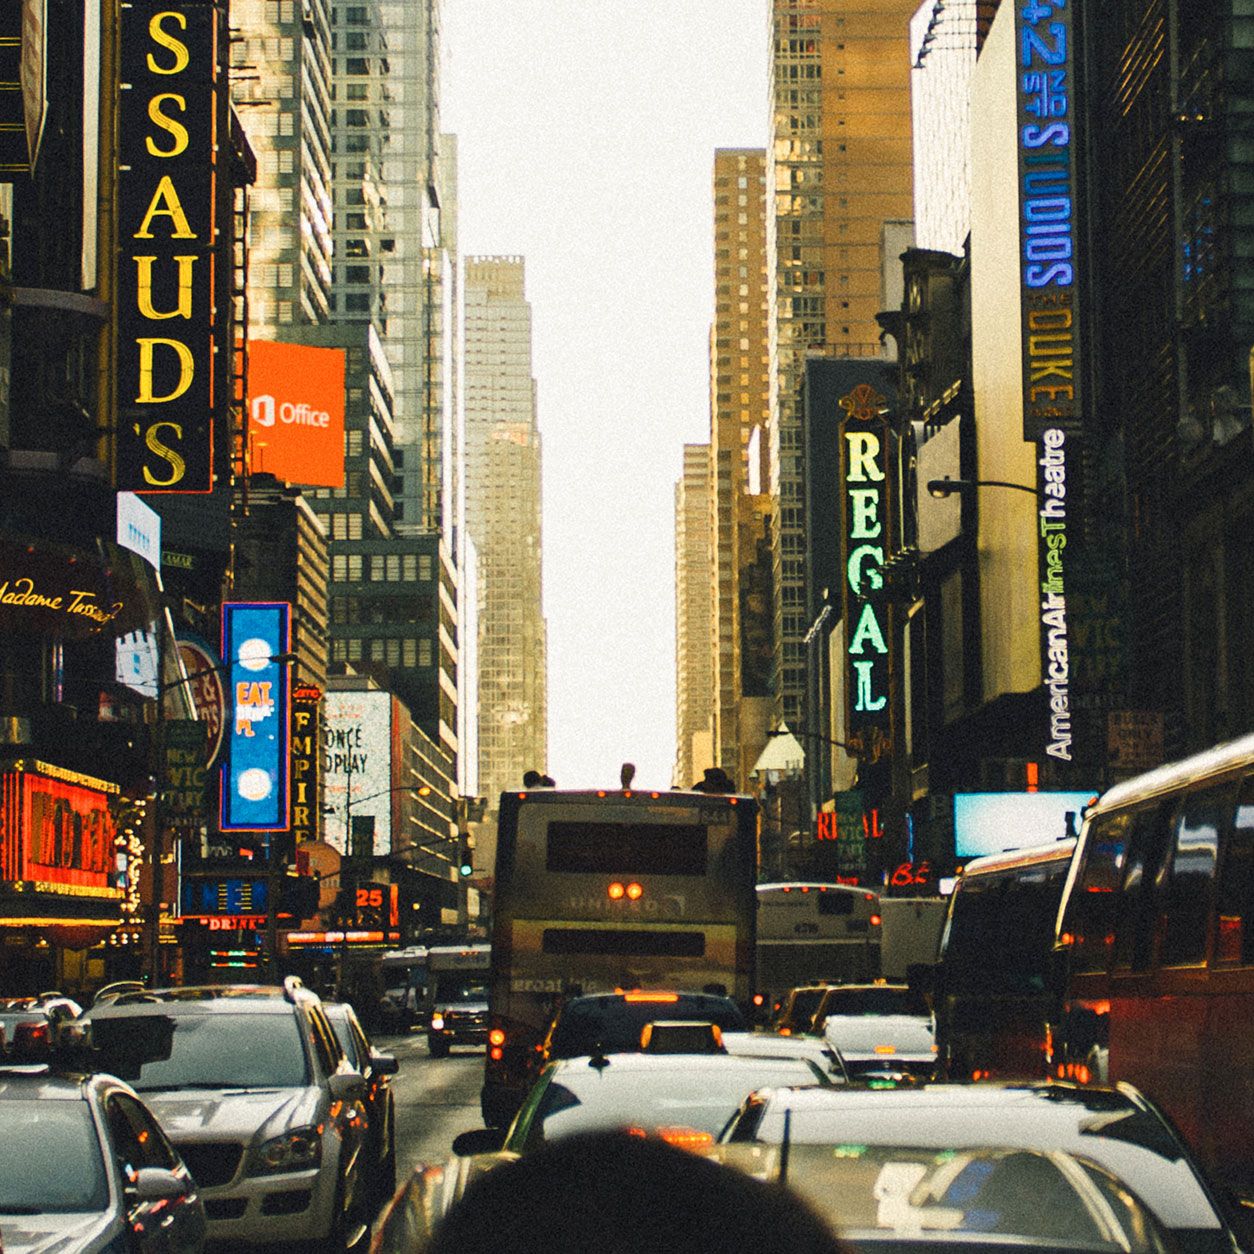
To see if the quality of the source image makes a difference, we wanted to compare the iPhone scan to a flatbed scan. After all, the Polaroid Lab is capturing a photo of a 2in sq. section of your phone screen.. how high quality of an image could you need?
Right off the bat, the Flatbed scan is far better than the iPhone scan - both in colour accuracy, sharpness, and exposure. When compared to the original Polaroid, it's not perfect but it's the closest we could get.
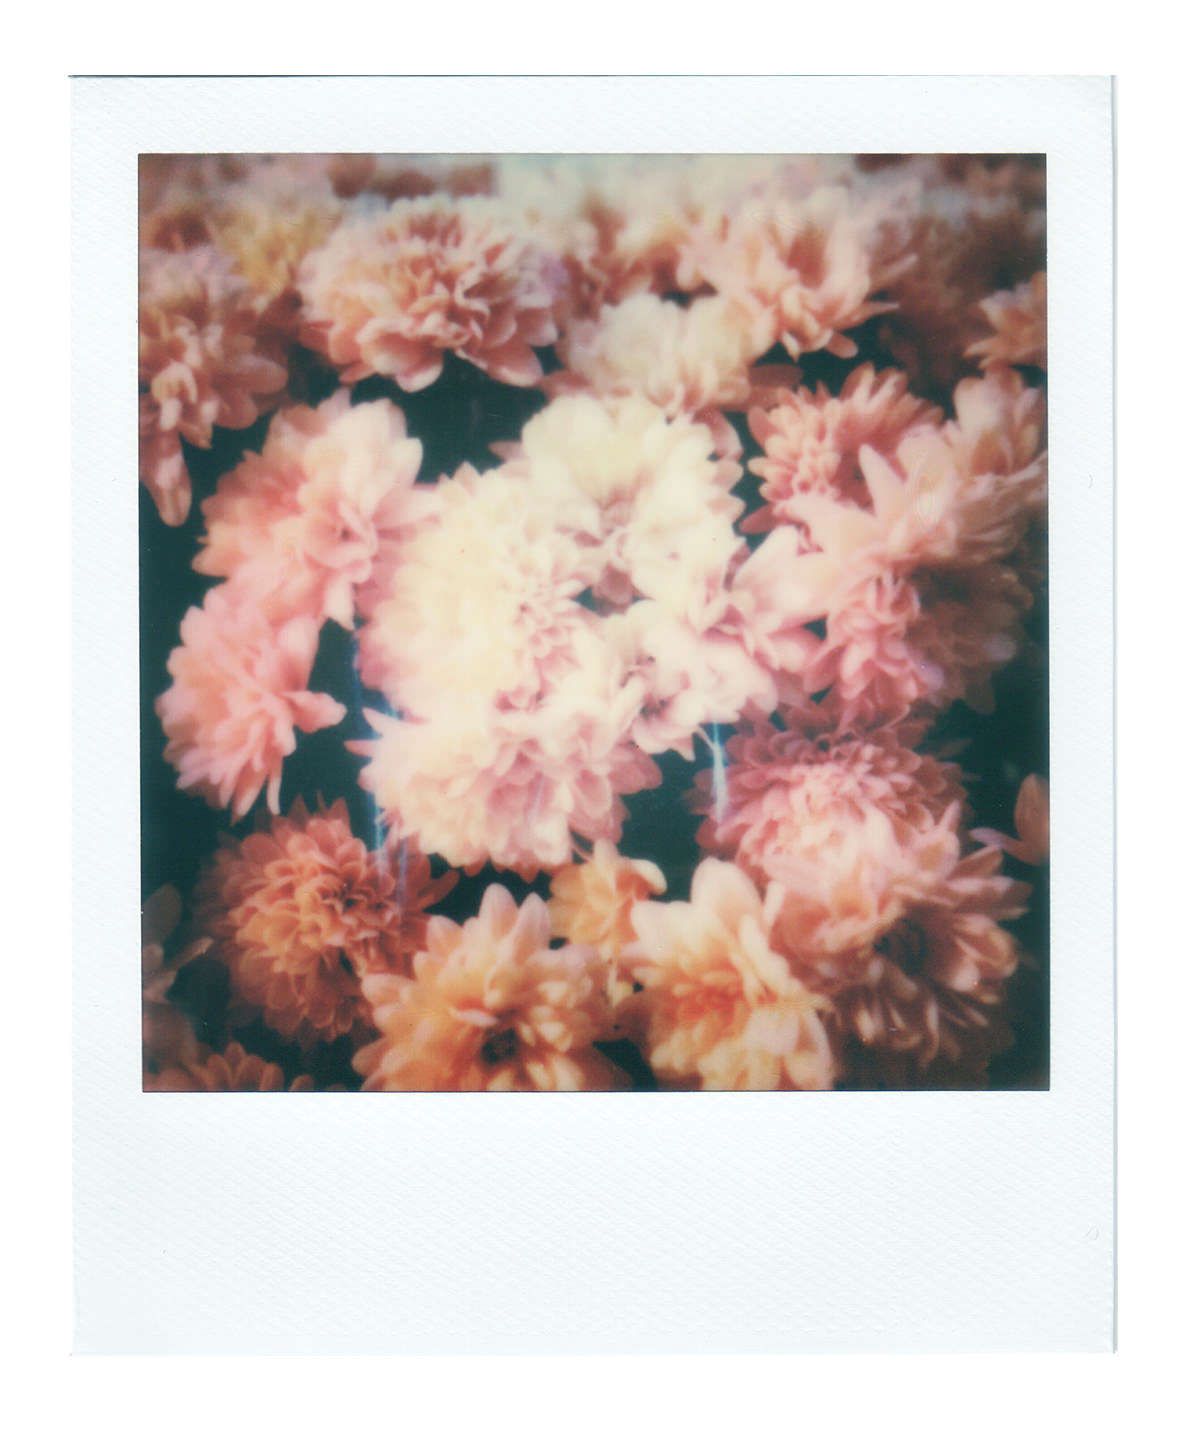
Comparing the original scan to the duplicate, we can quickly see that the two are very different.
The duplicate has a slight cropping to it that occured while exposing the print, there is a noticeable vignette around all four edges, and the colour is far less vibrant. The colour change could be from printing on a different batch of film (Color i-Type 10/19), but the others weren't intentional and didn't appear in the preview before printing.
Overall Quality/Lowest Quality Source Image
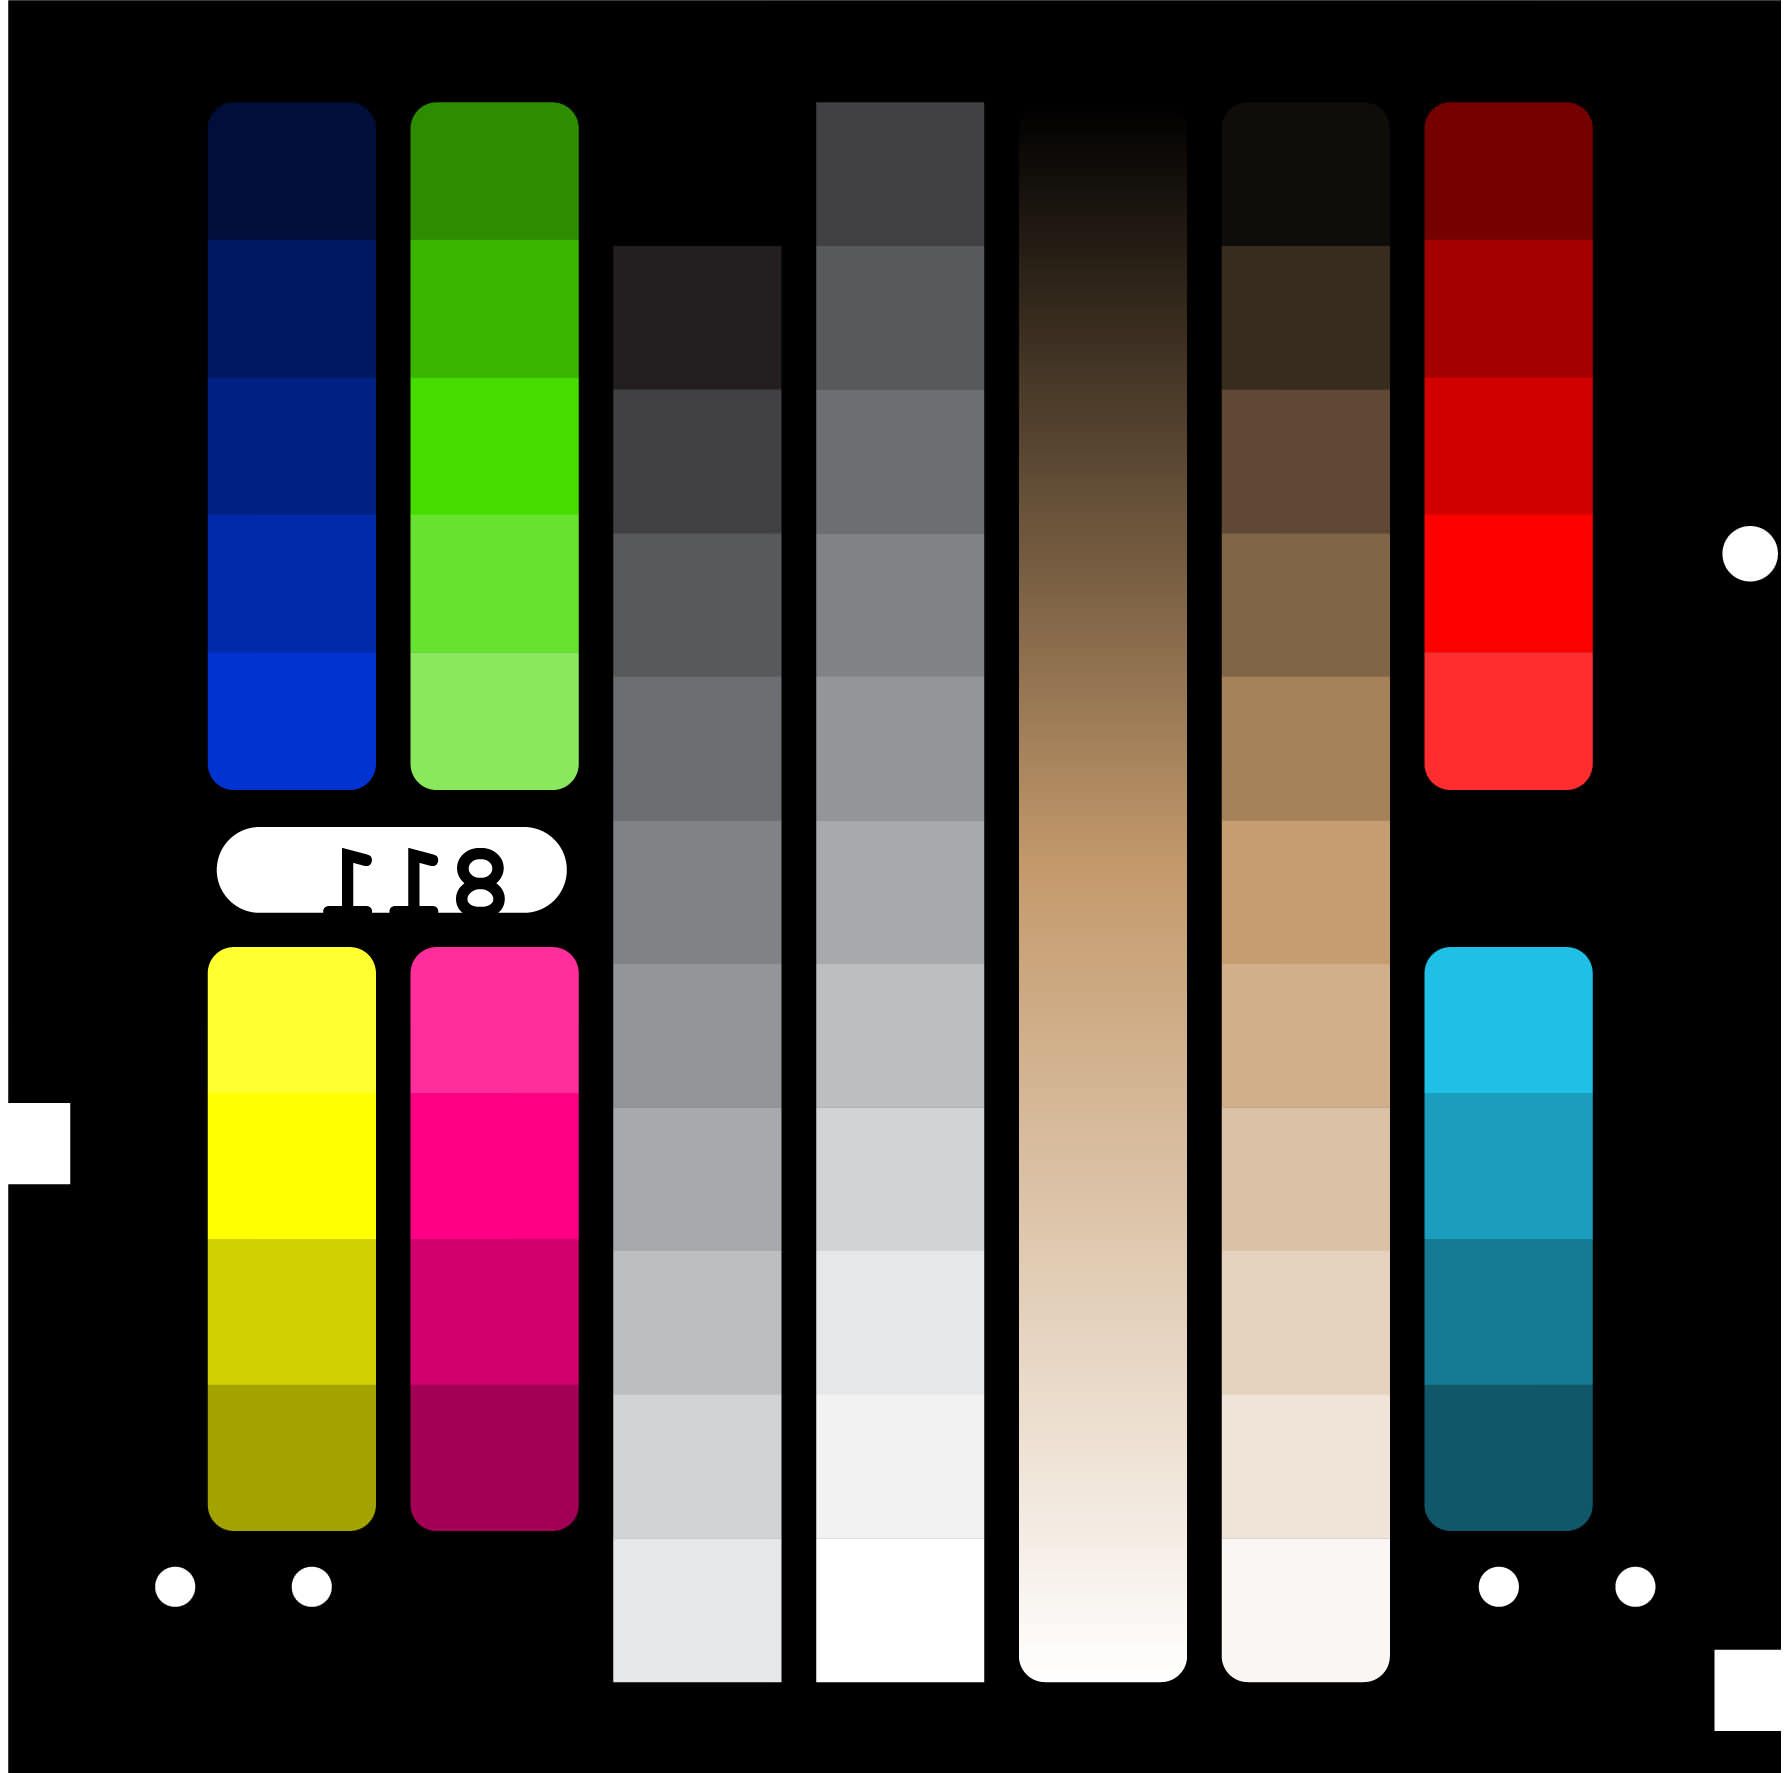
After testing the duplication quality, we wanted to dissect the files and the quality of the source images we print from.
Sharpness
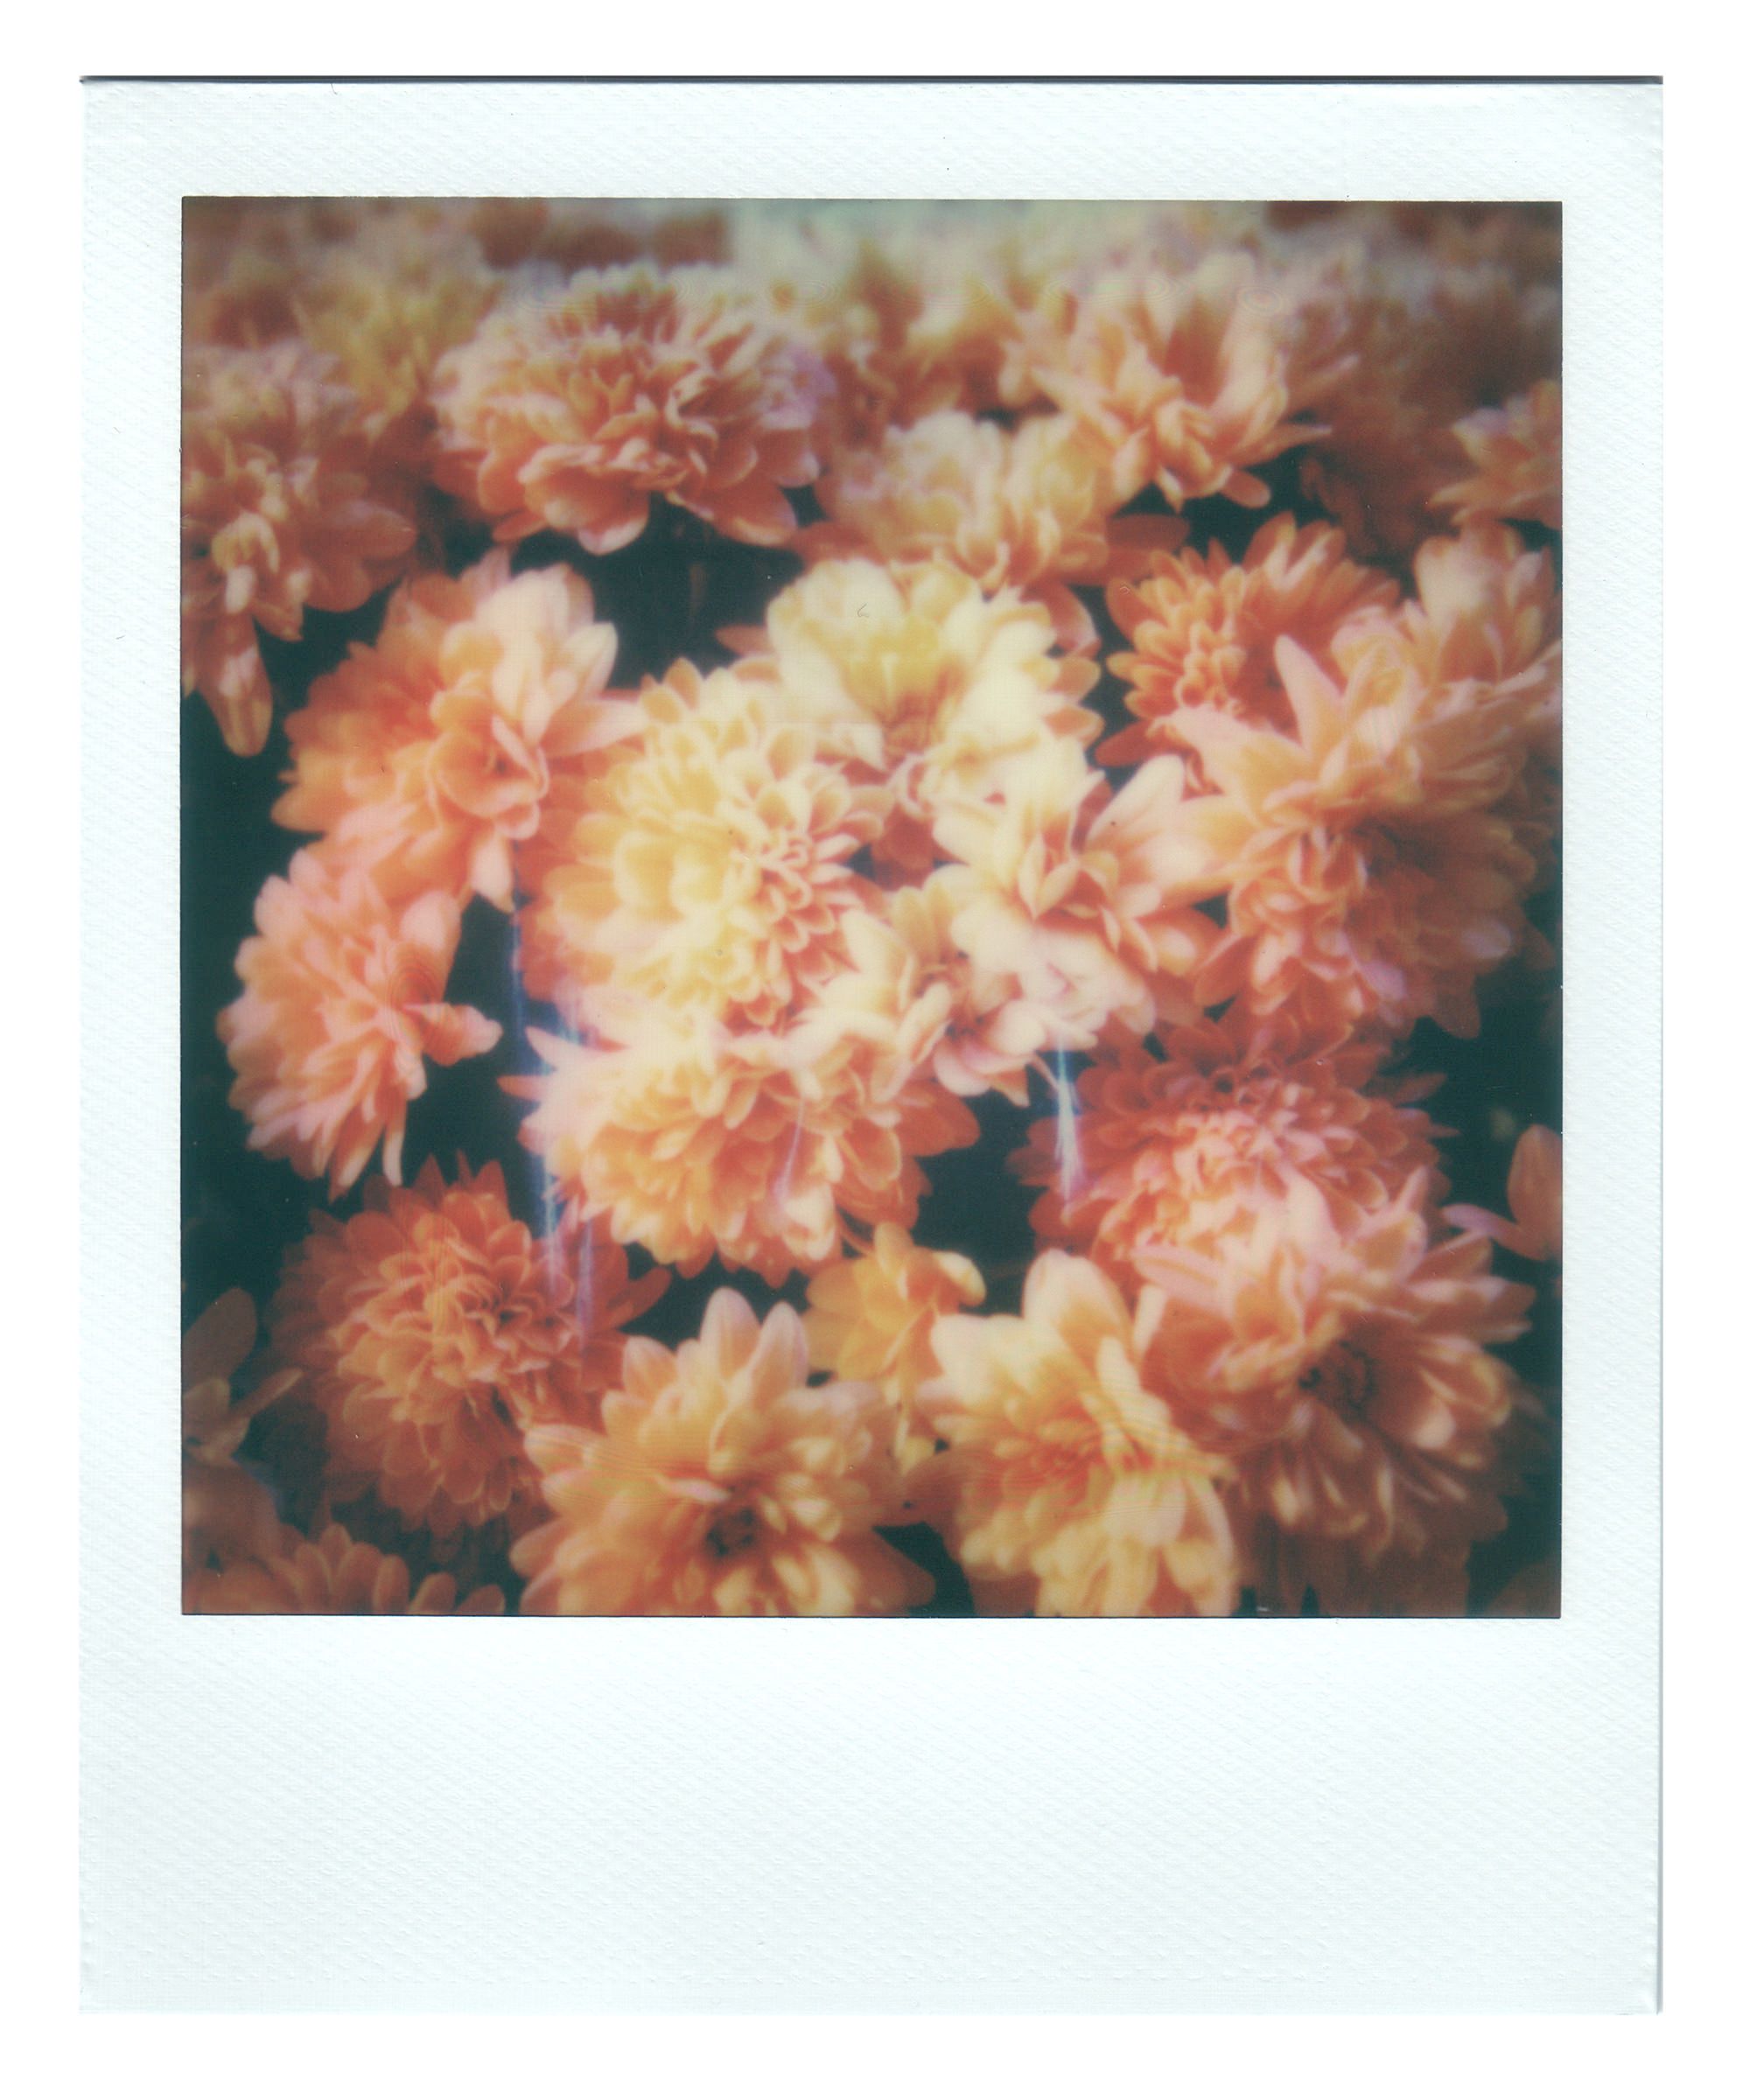
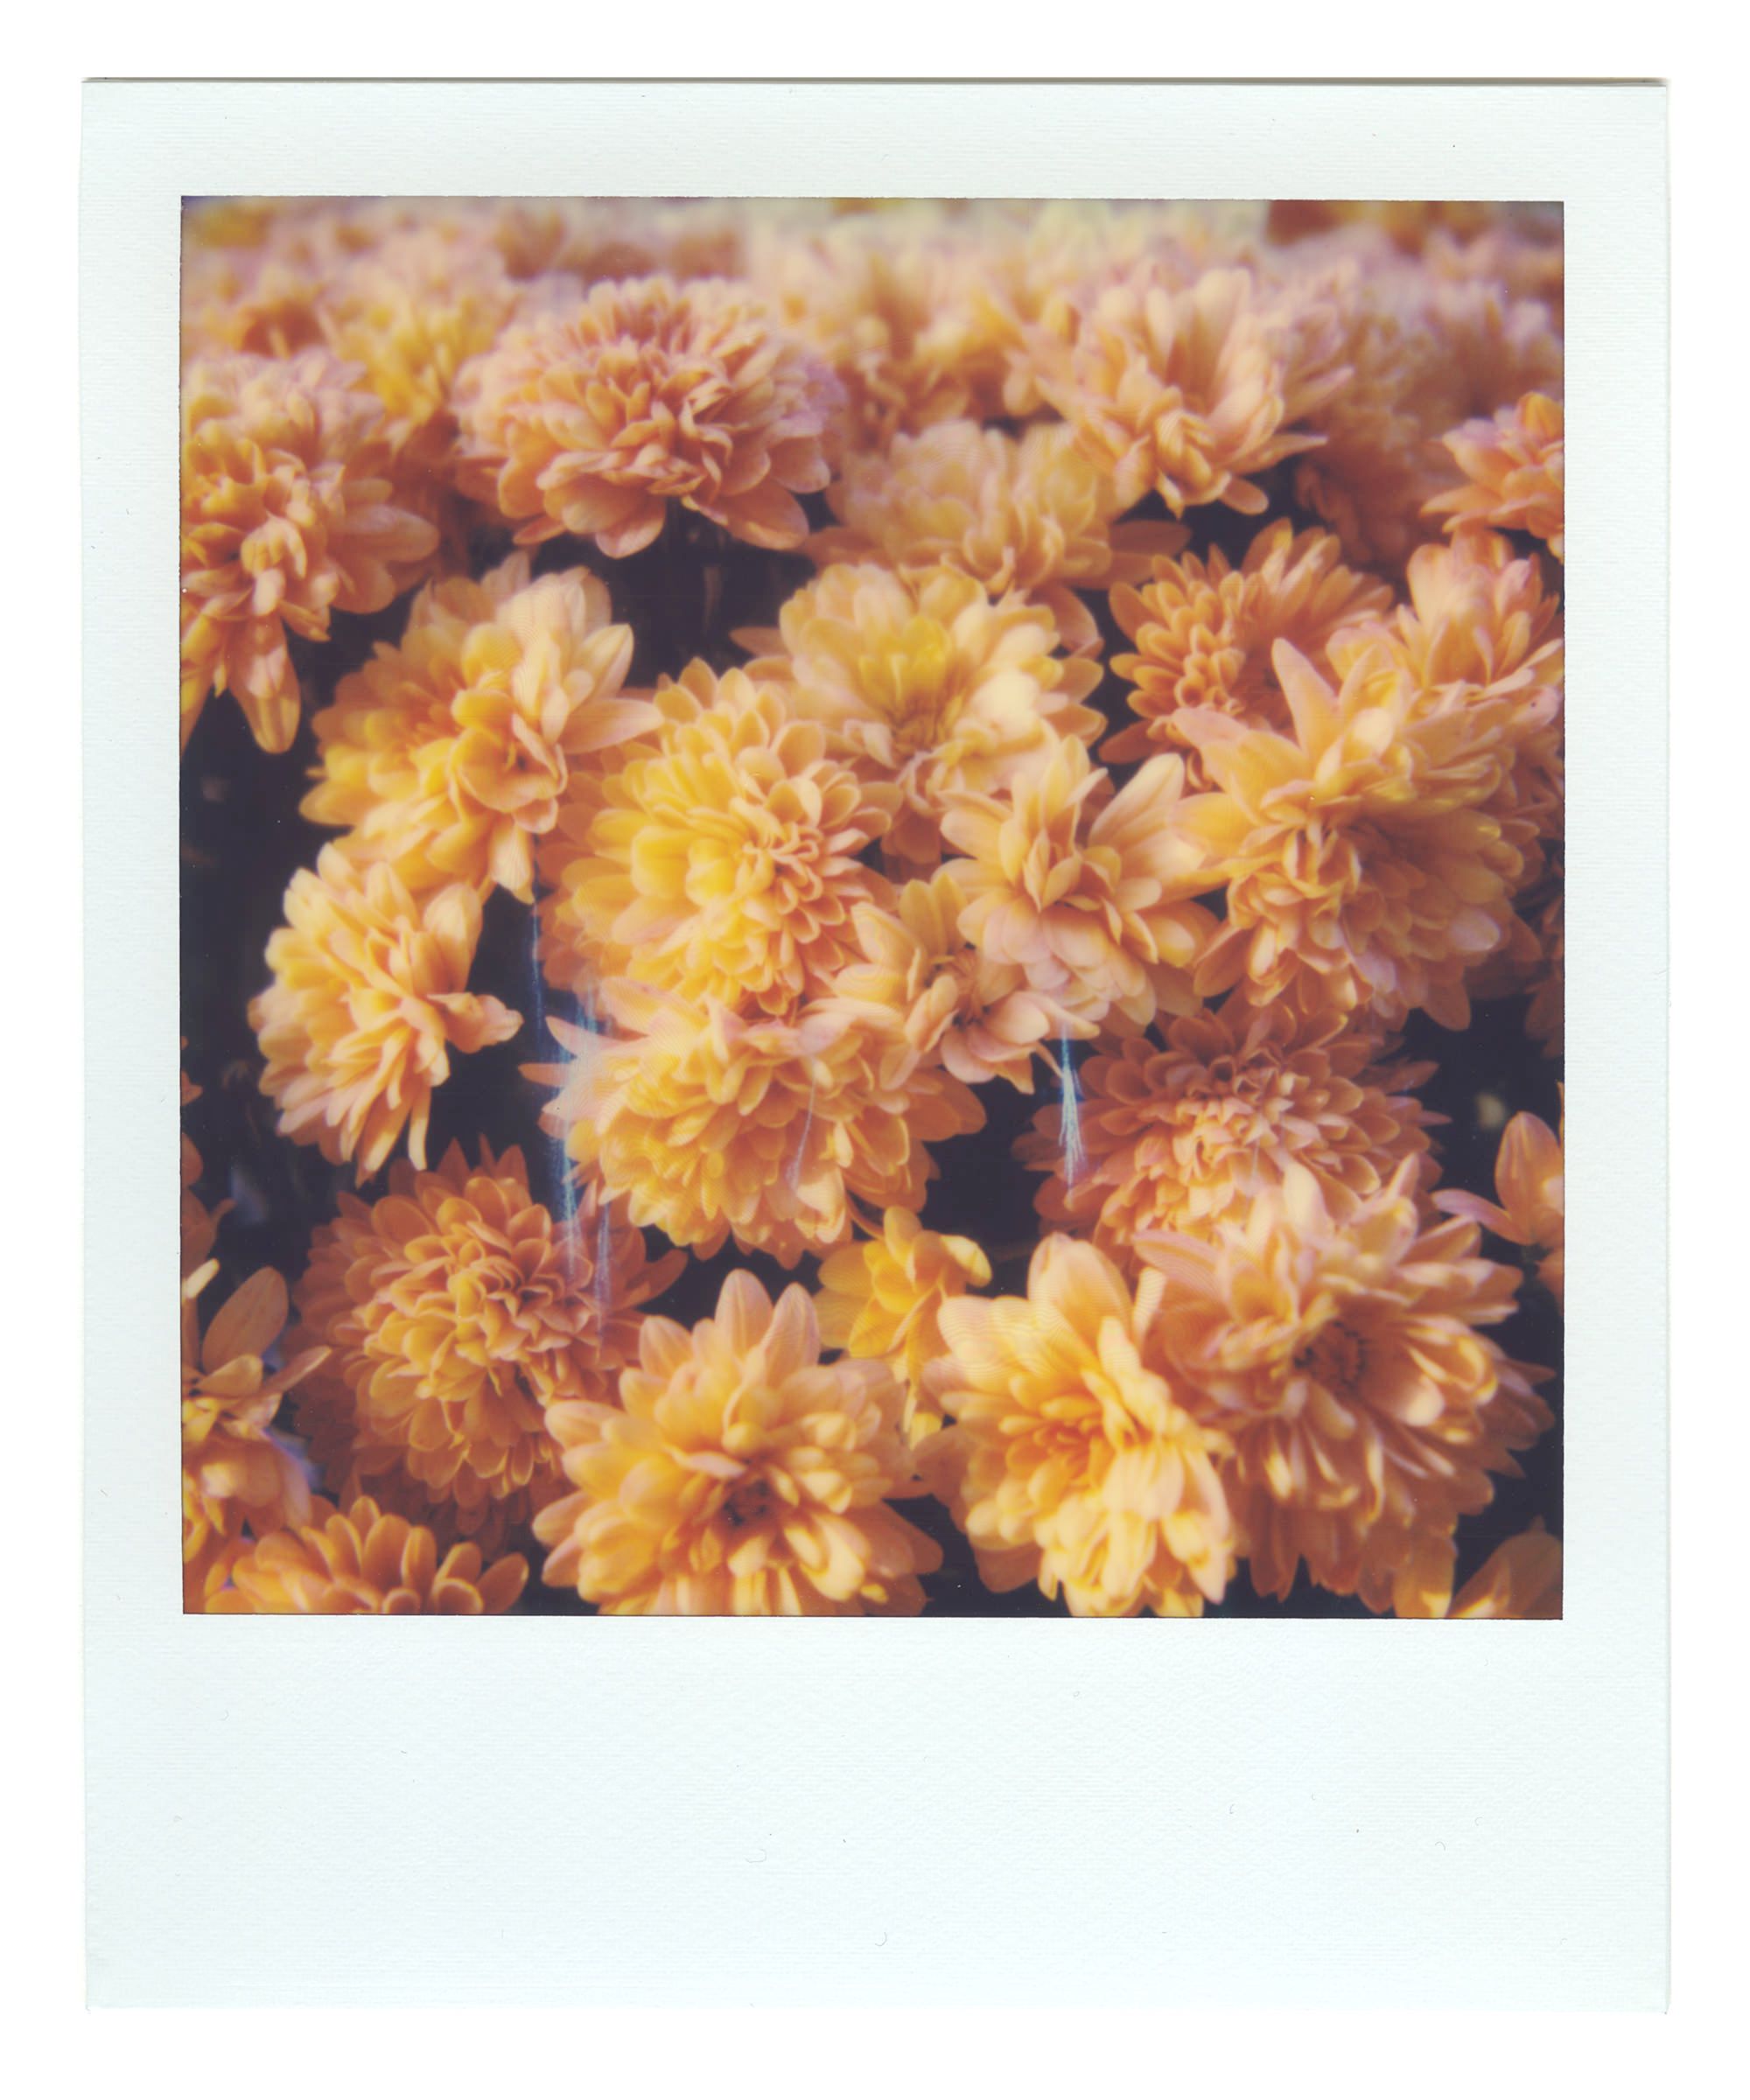
Here you can see that even when you use a high quality source image, the resulting print will be noticably softer. If you are trying to duplicate a Polaroid, you may be disappointed in the quality. However if you are printing from a digital image, the print may be acceptable.
Colour Shift
Of all the Polaroids we've printed using the Lab, they all have encountered some colour shifts that weren't intentional.


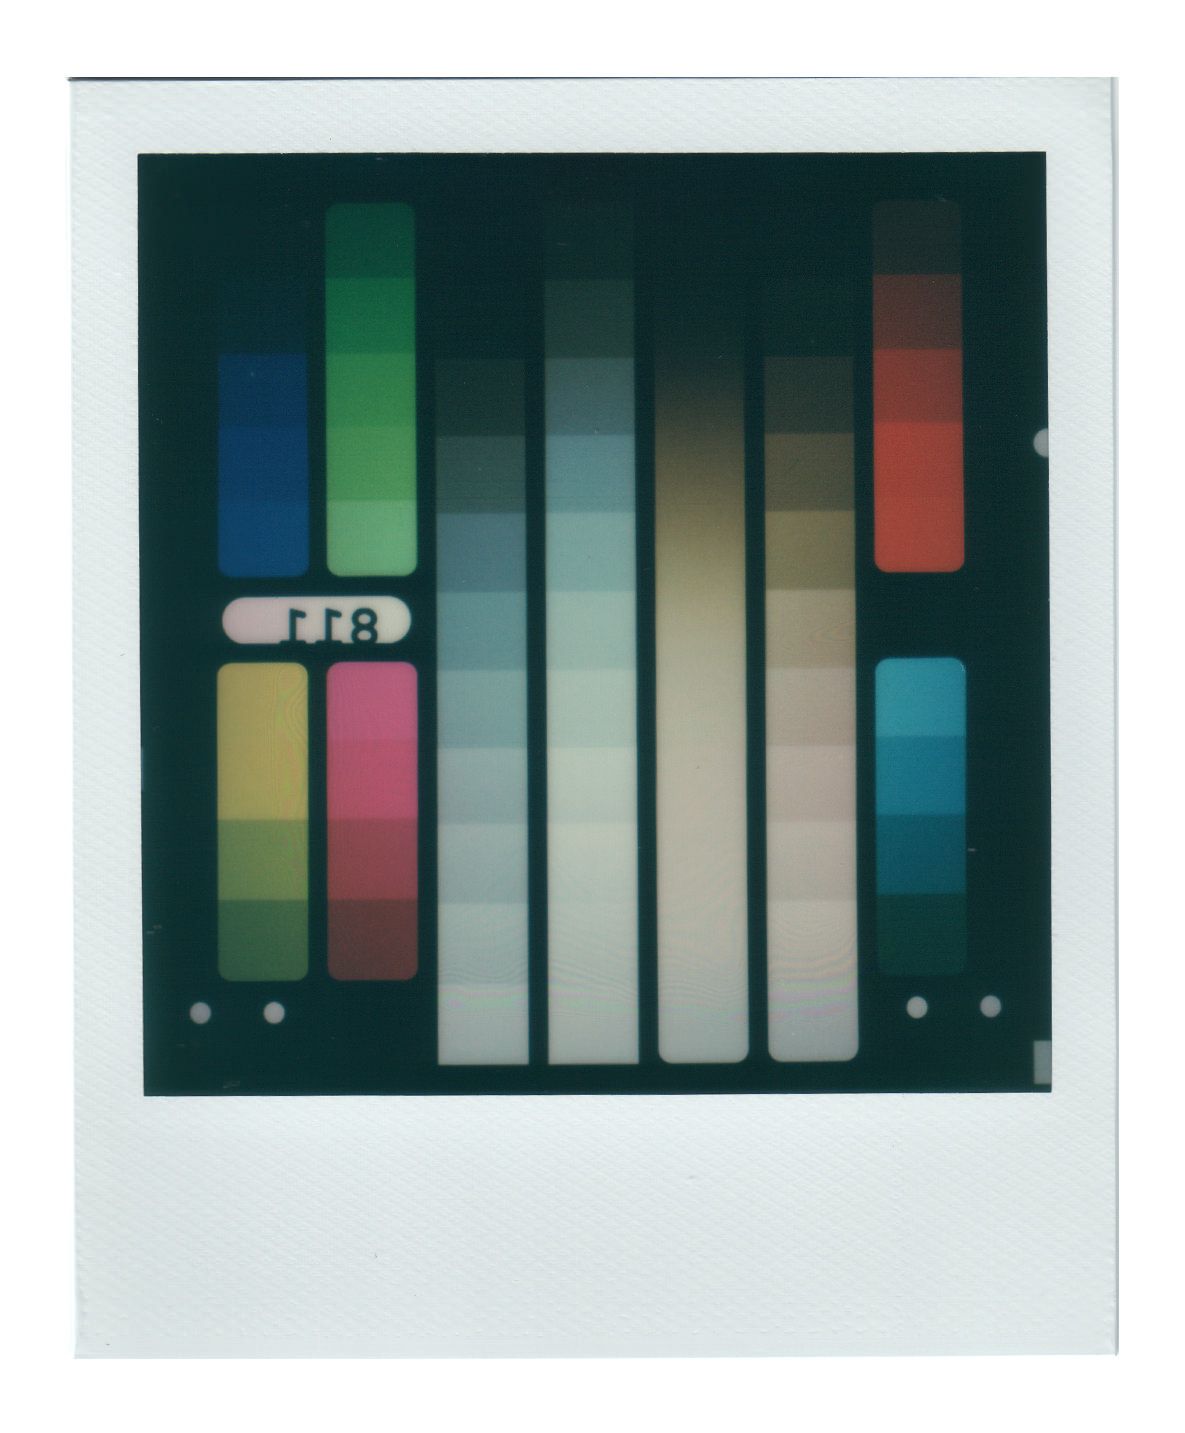
Some of this is the nature of the film chemistry and it's ability to reproduce colours, but there is a colour that is inherently produced by the Polaroid Lab/phone that isn't obvious in Polaroids from a camera.
If you look into the shadows of the prints that come from the Lab, you'll find a tint of green. One theory is that the cast is introduced from the display on the phone, which is emitting artificial light - made up of RGB - that is causing some of the cast. However this tint can be seen in the shadows of many of PO films.
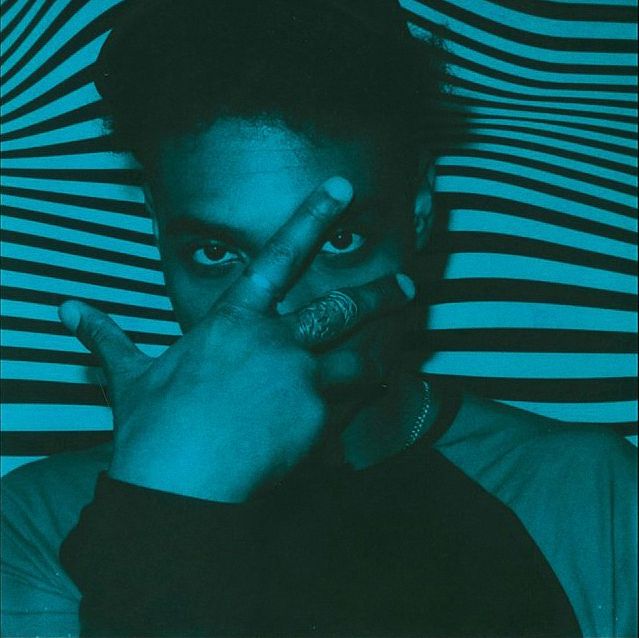
Later on in the article, we test printing BW images on colour film where the shift in colours become extremely obvious.
We mentioned this above, but if you are scanning with the Polaroid Originals app and your phone, it's good to keep in mind that the environment that you scan the Polaroid in will impact the scan (ex. if the lighting in your environment is warm, the scan will be warm).
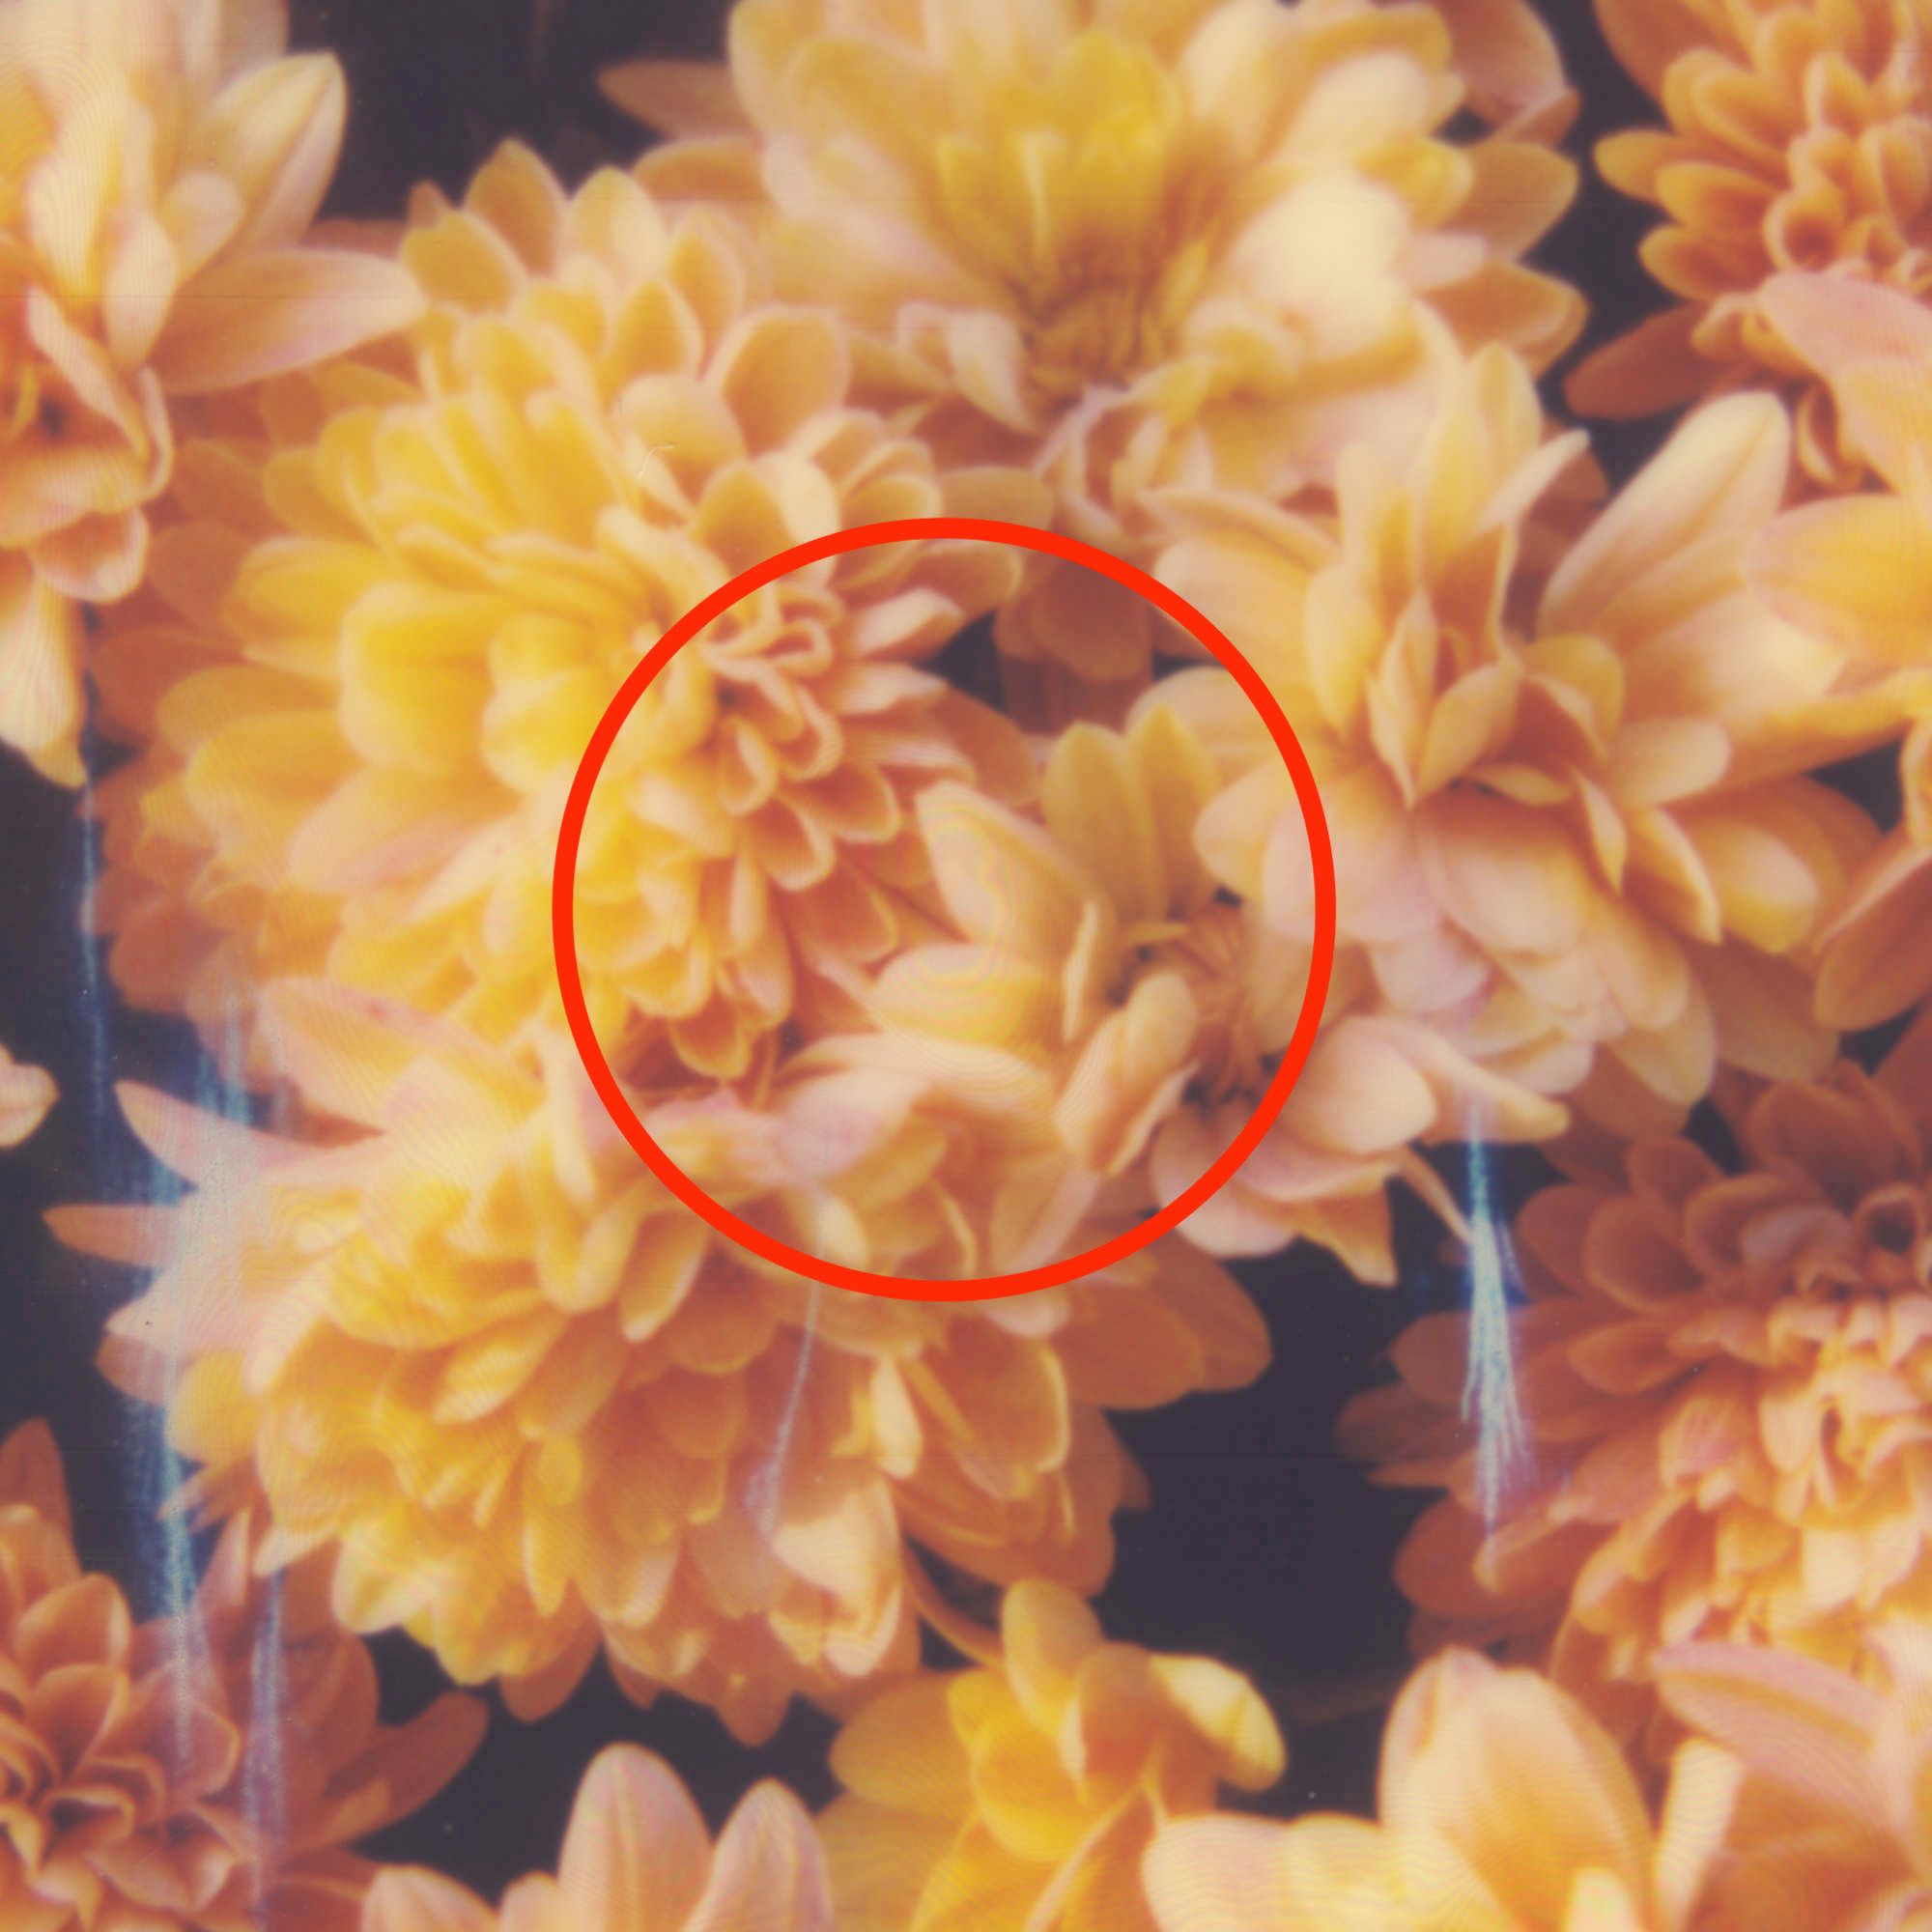
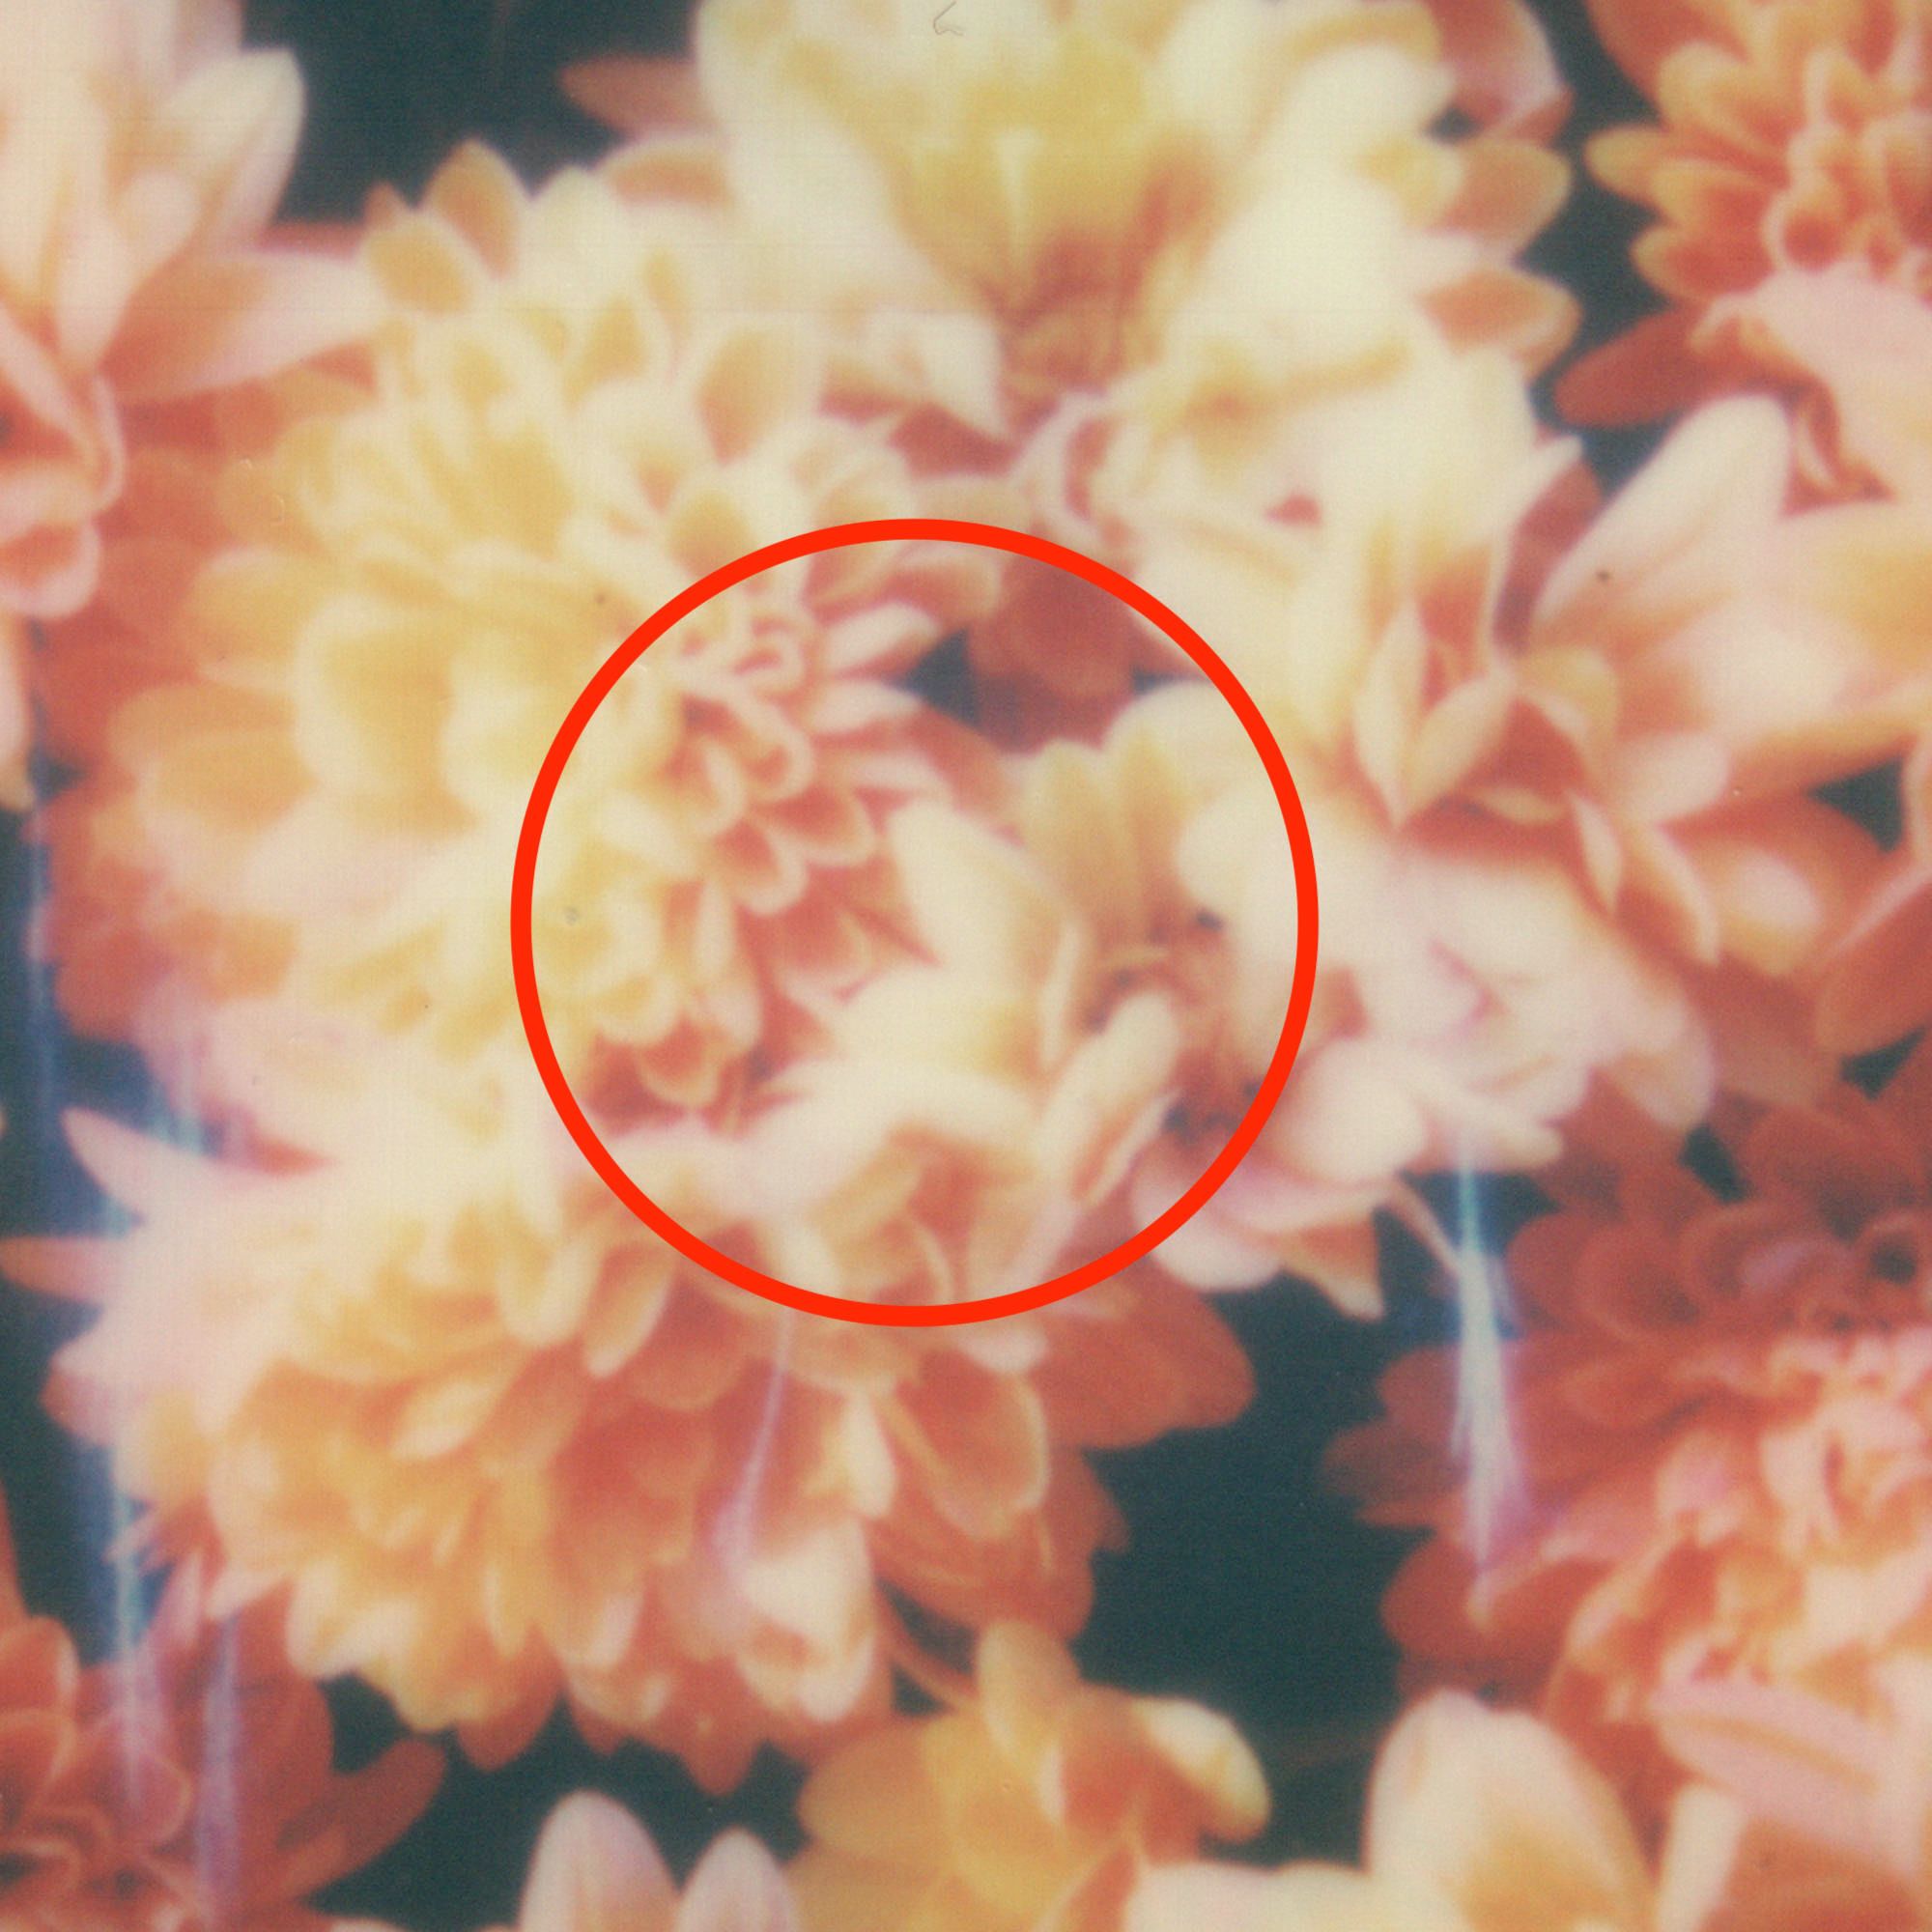
Inconsistent Exposure
On most of our Polaroid Lab prints, we noticed a consitent "hot spot" in the middle of the exposures.
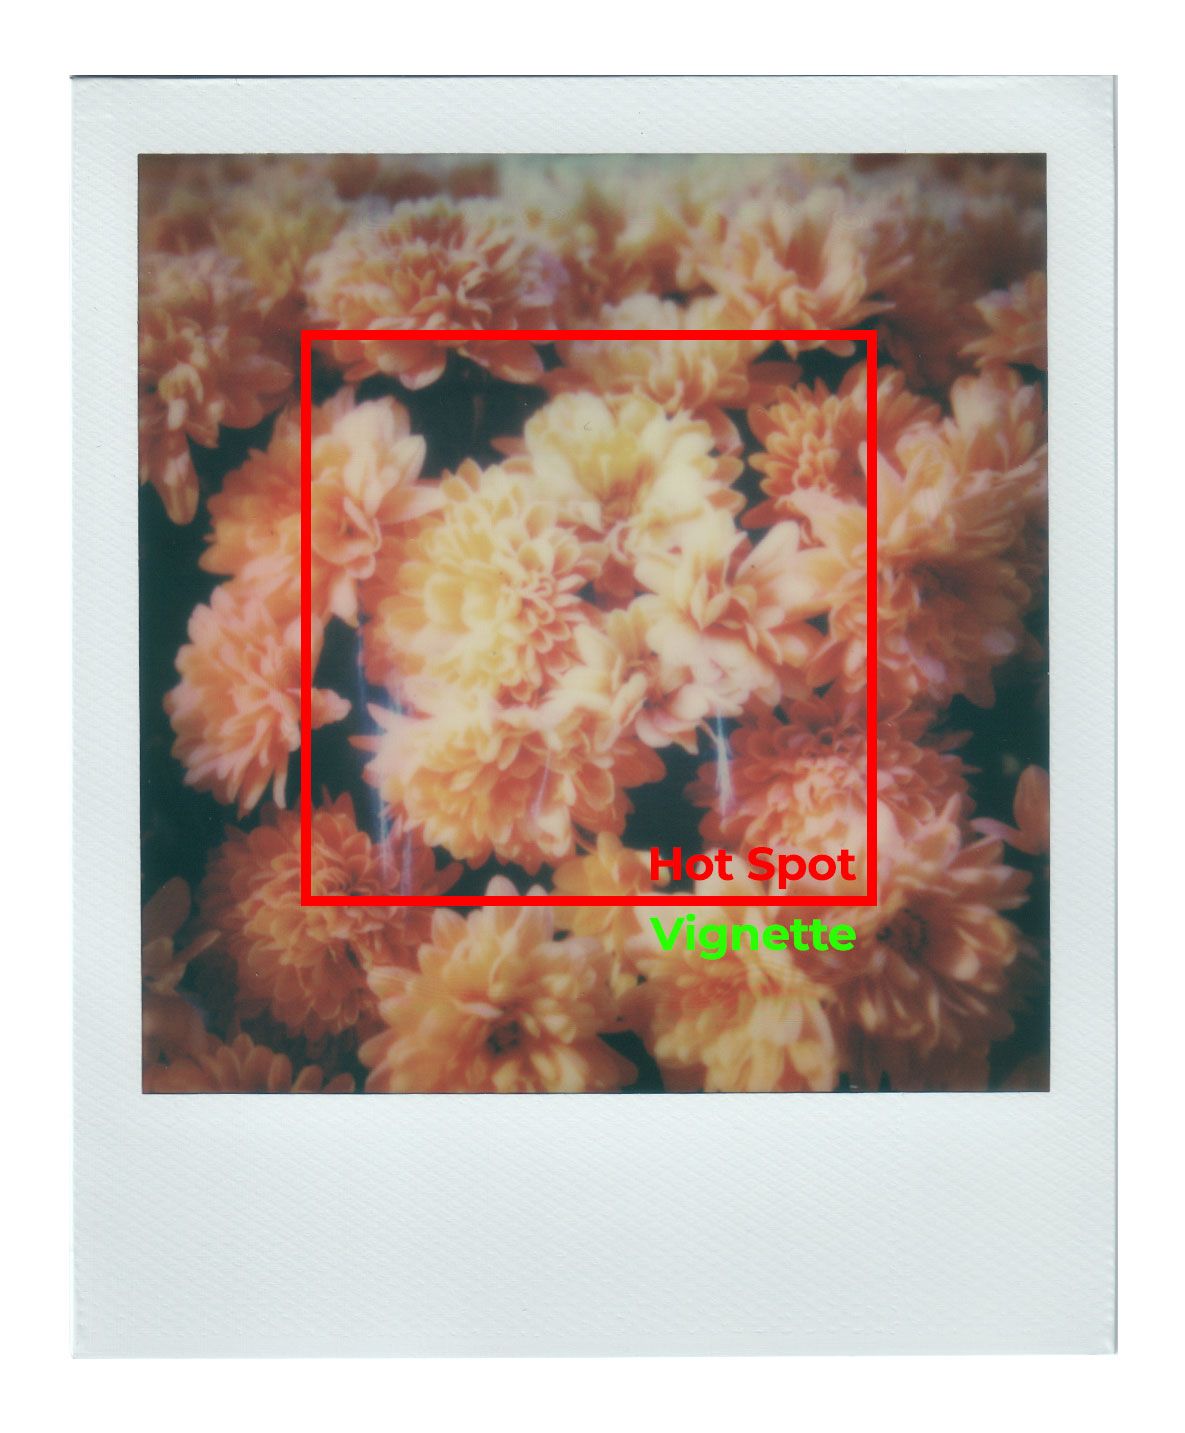

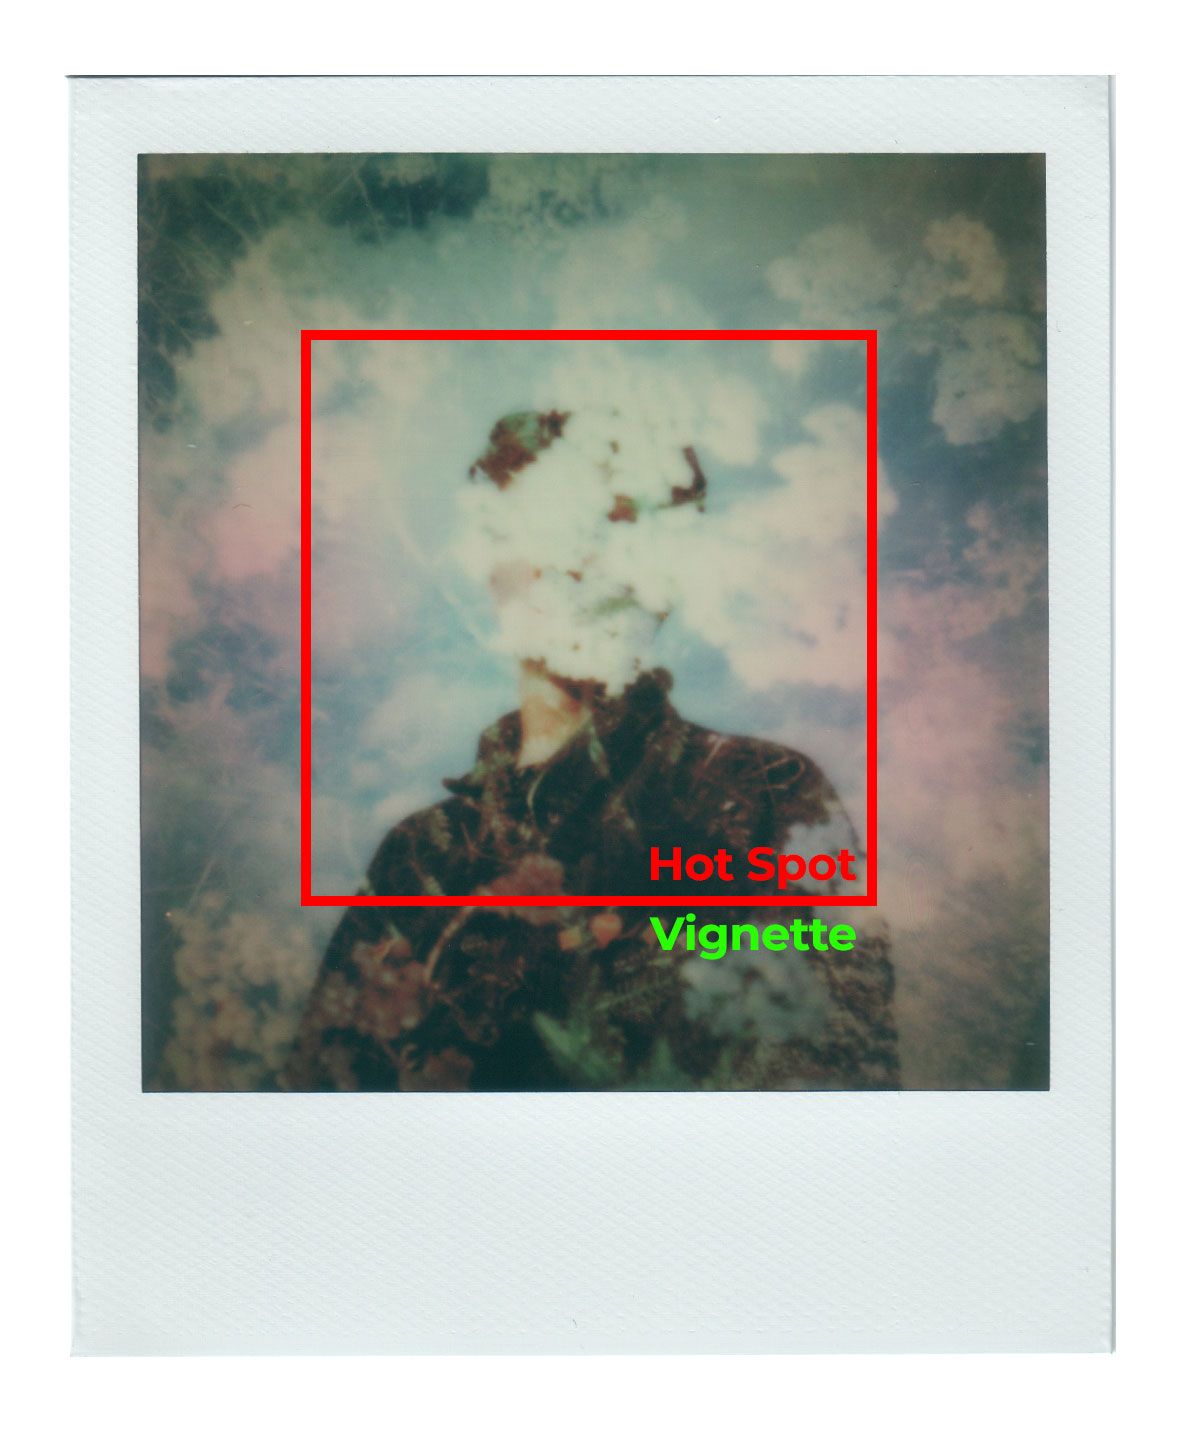
We've drawn a square in the same spot on three frames from our tests to illustrate the issue. You'll notice on the photos above that there is a centre portion of the frame that is brighter(and often overexposed), and then near the edges it begins to get darker. On the BW and the double exposure, you can see added pink tones beginning on the sides of the frames as well.
Source Image
Here we’ll be comparing the iPhone scan to the flatbed scan:
After testing, it’s hard to say if you’d want to use an image of lesser quality than the flatbed scan for duplication. Main reasons being the colour accuracy, and sharpness. With a lower quality scan, you’re beginning to sacrifice a lot of sharpness and the tones of the images will begin to suffer.
Lowest quality image
As an extreme test of sharpness and duplication, let’s take a screenshot of an image found through google images - replicating a situation where someone could potentially steal an image of yours and print it out at home.
The image we printed from was screenshotted from a MacBook Pro at 144ppi, 956x956px, and 1.5MB.
Colour shift aside, the over all sharpness of the image was acceptable. If we compare it to the source image, the print is softer - but the print would hold up well if compared to another Polaroid image.
If you're concerned about others stealing your Polaroid images that you post online - even though you may post a low quality image, it would be possible to create an acceptable replica if you didn't have the original to compare it to.
While no different than digital prints, the only true attempt in "protecting" your work is by adding watermarks if you choose.
Results
Taking a look at the tests above, we can gather a few key take-aways:
- The Polaroid Lab introduces a noticable vignette on most prints
- The Lab/phone intoduces inconsistent exposure changes
- The Lab introduces some alignment issues. On average, the centre of the photo is shifted to the left, as well as cropped slightly. At least 3mm off of all sides. (Ex. This is shown well in the GIF comparison above)
- Most highlights are overexposed, regardles of soft or hard highlights.
- The phone introduces a bit of a green cast, which could be a result of the artificial light coming from the smartphone
- You can use a surprising low-quality image, and still recieve an acceptable result
The most important note on quality, is that you need to treat the surface of your phone like a lens in the process. The quality of the print will depend on the quality of your screen. You’ll want to ensure that your screen is clean, free of cracks or smudges.
Polaroid Originals recommends that you use your phone without a screen protector as it can effect the focus of the image. In addition, you’ll need to remove any cases that you have on your phone in order to place it properly on the Lab properly.
Mosaic Test
Next up, is the mosaic feature in the Polaroid Originals app. It allows you to create a wide range of mosaic arrangements, directly in the app without the need to divide the images yourself. The app allows you to split up a single image across a maximum of 9 instant frames. Keep in mind, this feature can be quite expensive as the frames add up - Polaroid film isn’t cheap.
For these tests, we’ll be looking at the following:
- Alignment from frame-to-frame
- Colour consistency across the mosaic
- Creating custom frame ratios
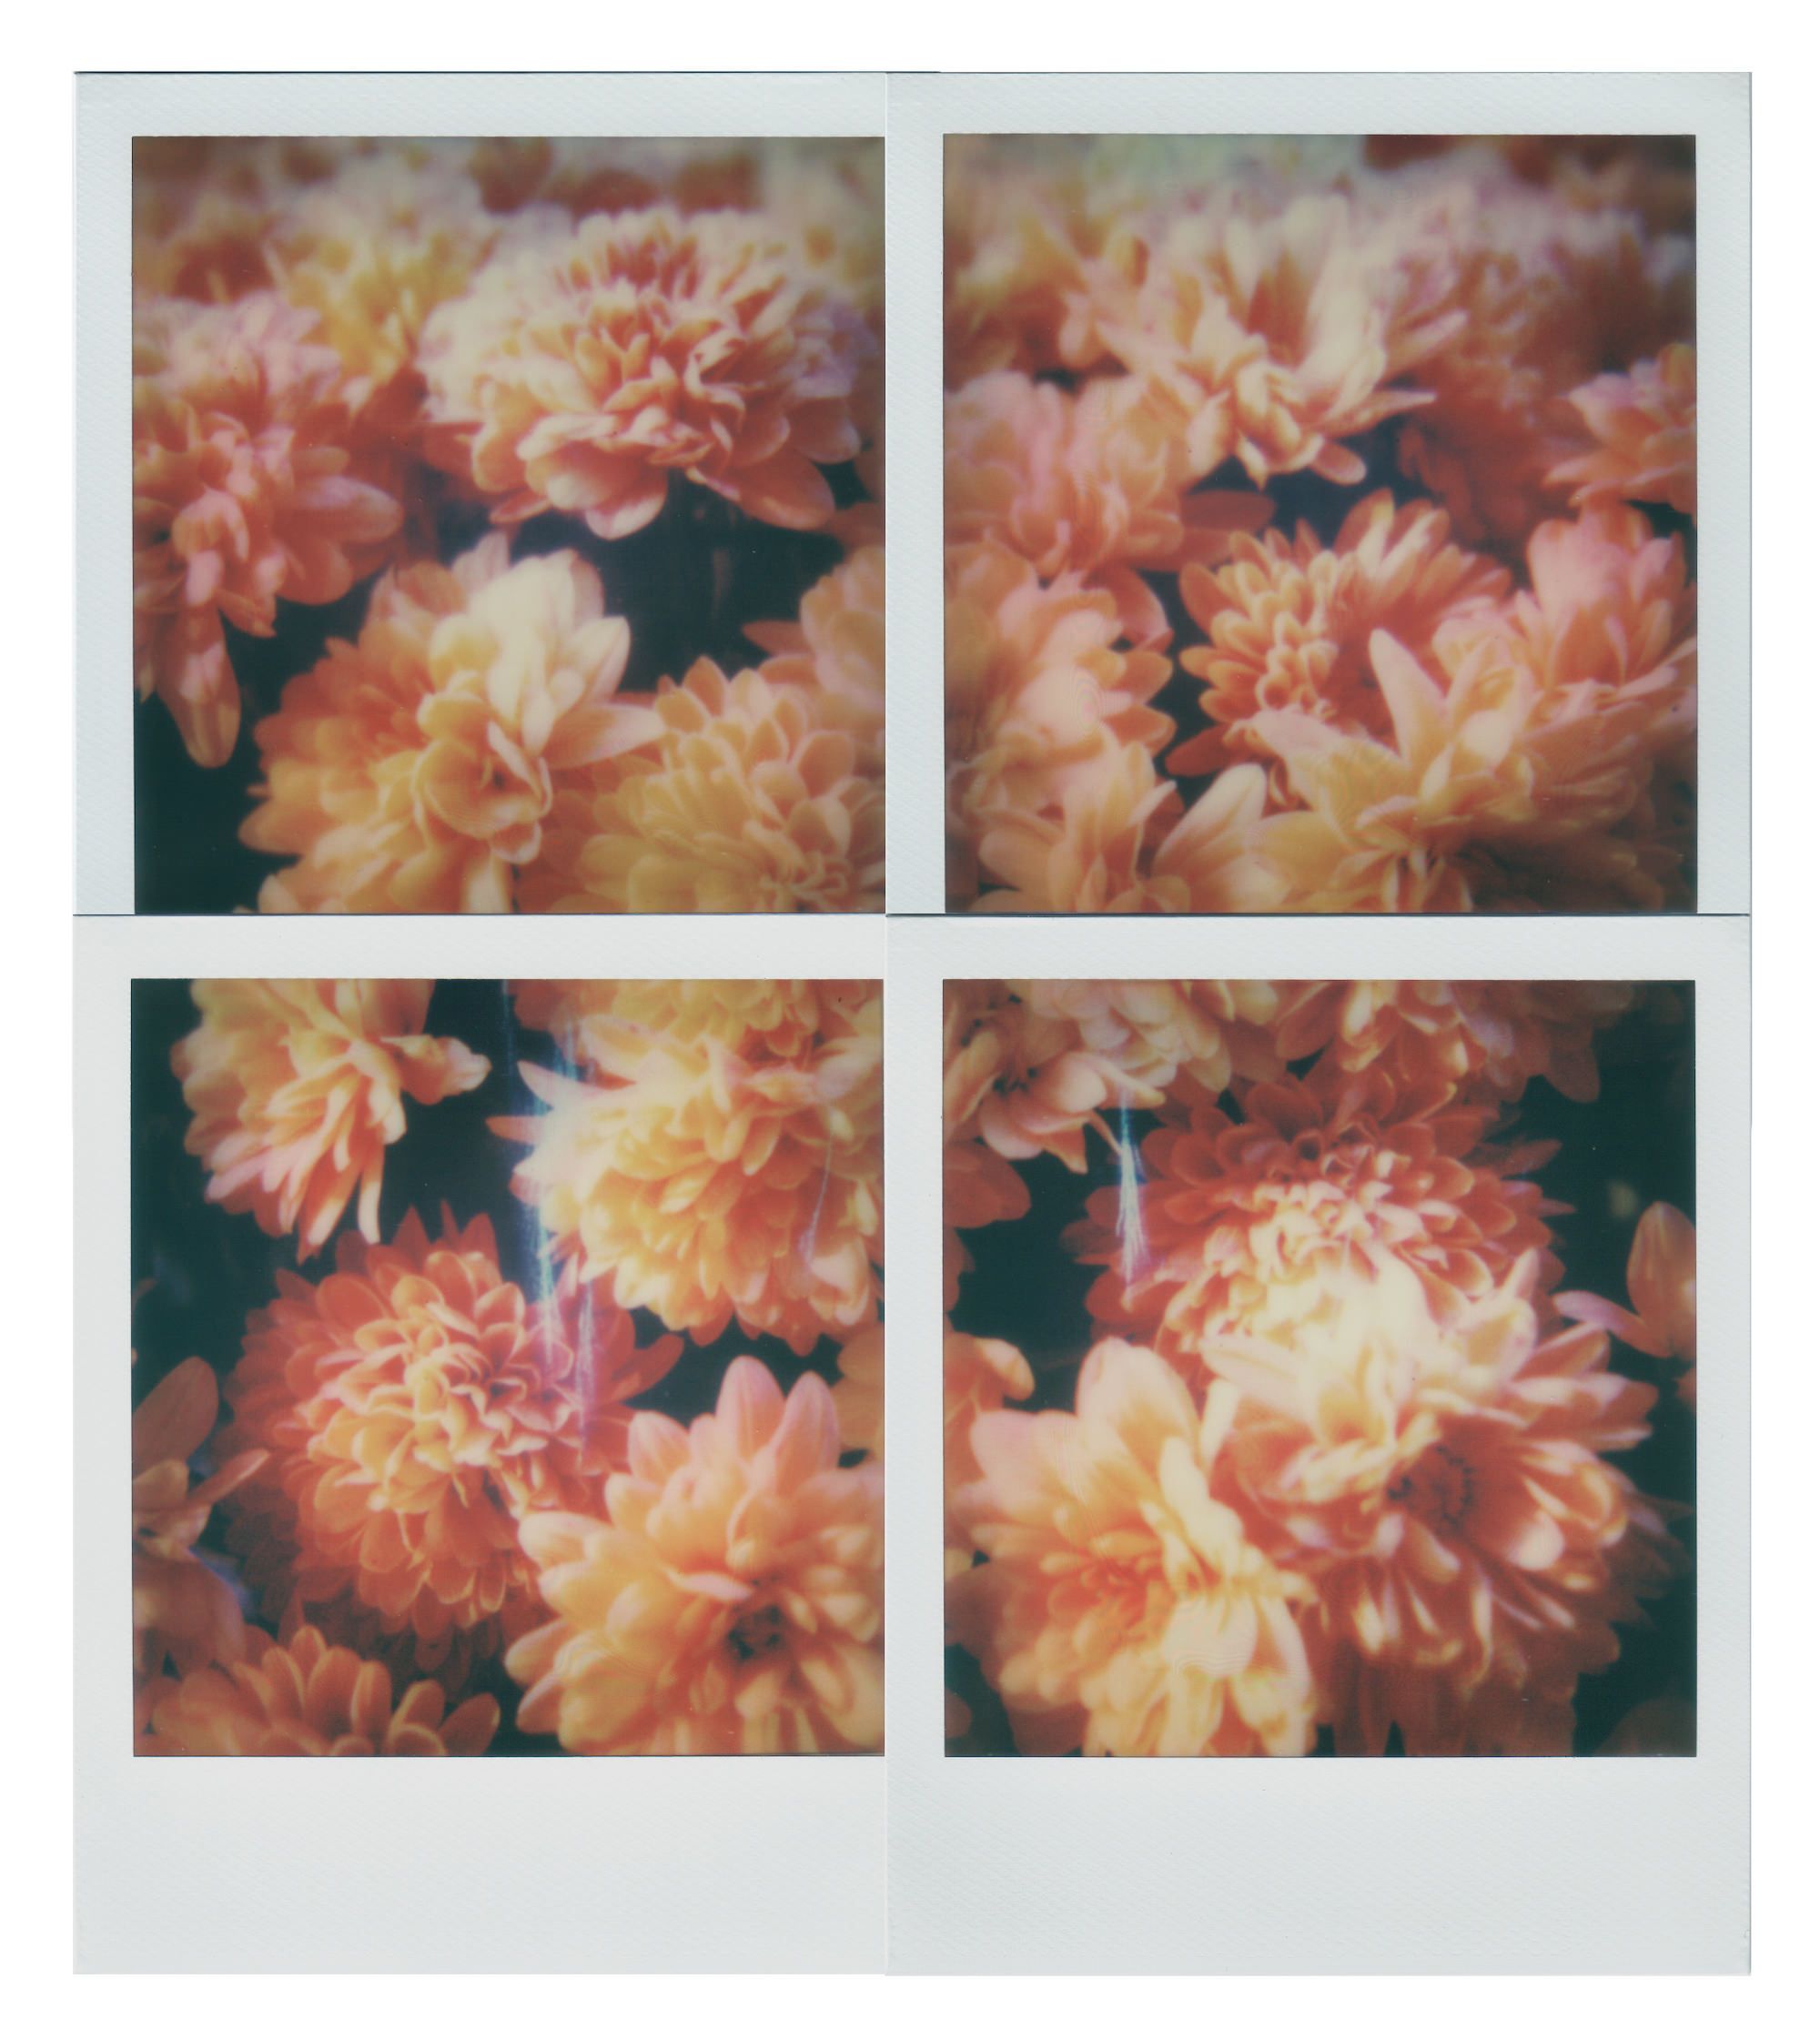
Test 1 - Two frame mosaic
Starting small, we tested splitting an image across two frames using the Polaroid Originals app.
We were pretty happy how the mosaic came out. Everything was aligned correctly between prints, colour was consistent between prints. It was shockingly easy to produce the mosaic - the process with the app was smooth and they give you a ton of built in arrangements for two frames up to 9 frames (however there was no built in arrangement for 8 frames - one full pack of film).
Test 2 - Four frame mosaic using a HQ flatbed Polaroid scan
Next, we wanted to see what it would look like to take a polaroid scan and enlarge it across multiple polaroids. Because we knew we were going to enlarge an image taken with a Polaroid Camera, we chose to scan the original at a high quality to ensure we hold on to as much detail as possible.
Obviously, there isn't a way around having the white borders/seams in the mosaics - but they should be considered part of the picture when creating mosaics with Polaroids.
After taking a closer look at the mosaic, you can tell that the app took advantage of the higher quality file and used the full quality across all four frames. While we only tested it across a 2x2 mosaic, you would be able to notice the difference with larger mosaics.
Test 3 - Custom mosaic ratios
If you’re looking for custom mosaic shapes and have a knowledge of photo editing software, you can divide the image yourself and use the app to print the images individually.
We didn’t want to create something too complex, so we’ll be using a combination of photoshop and the mosaic feature in the app to create a mosaic that is 4x2 frames in size. This will make a wider photo that uses one single pack of film.
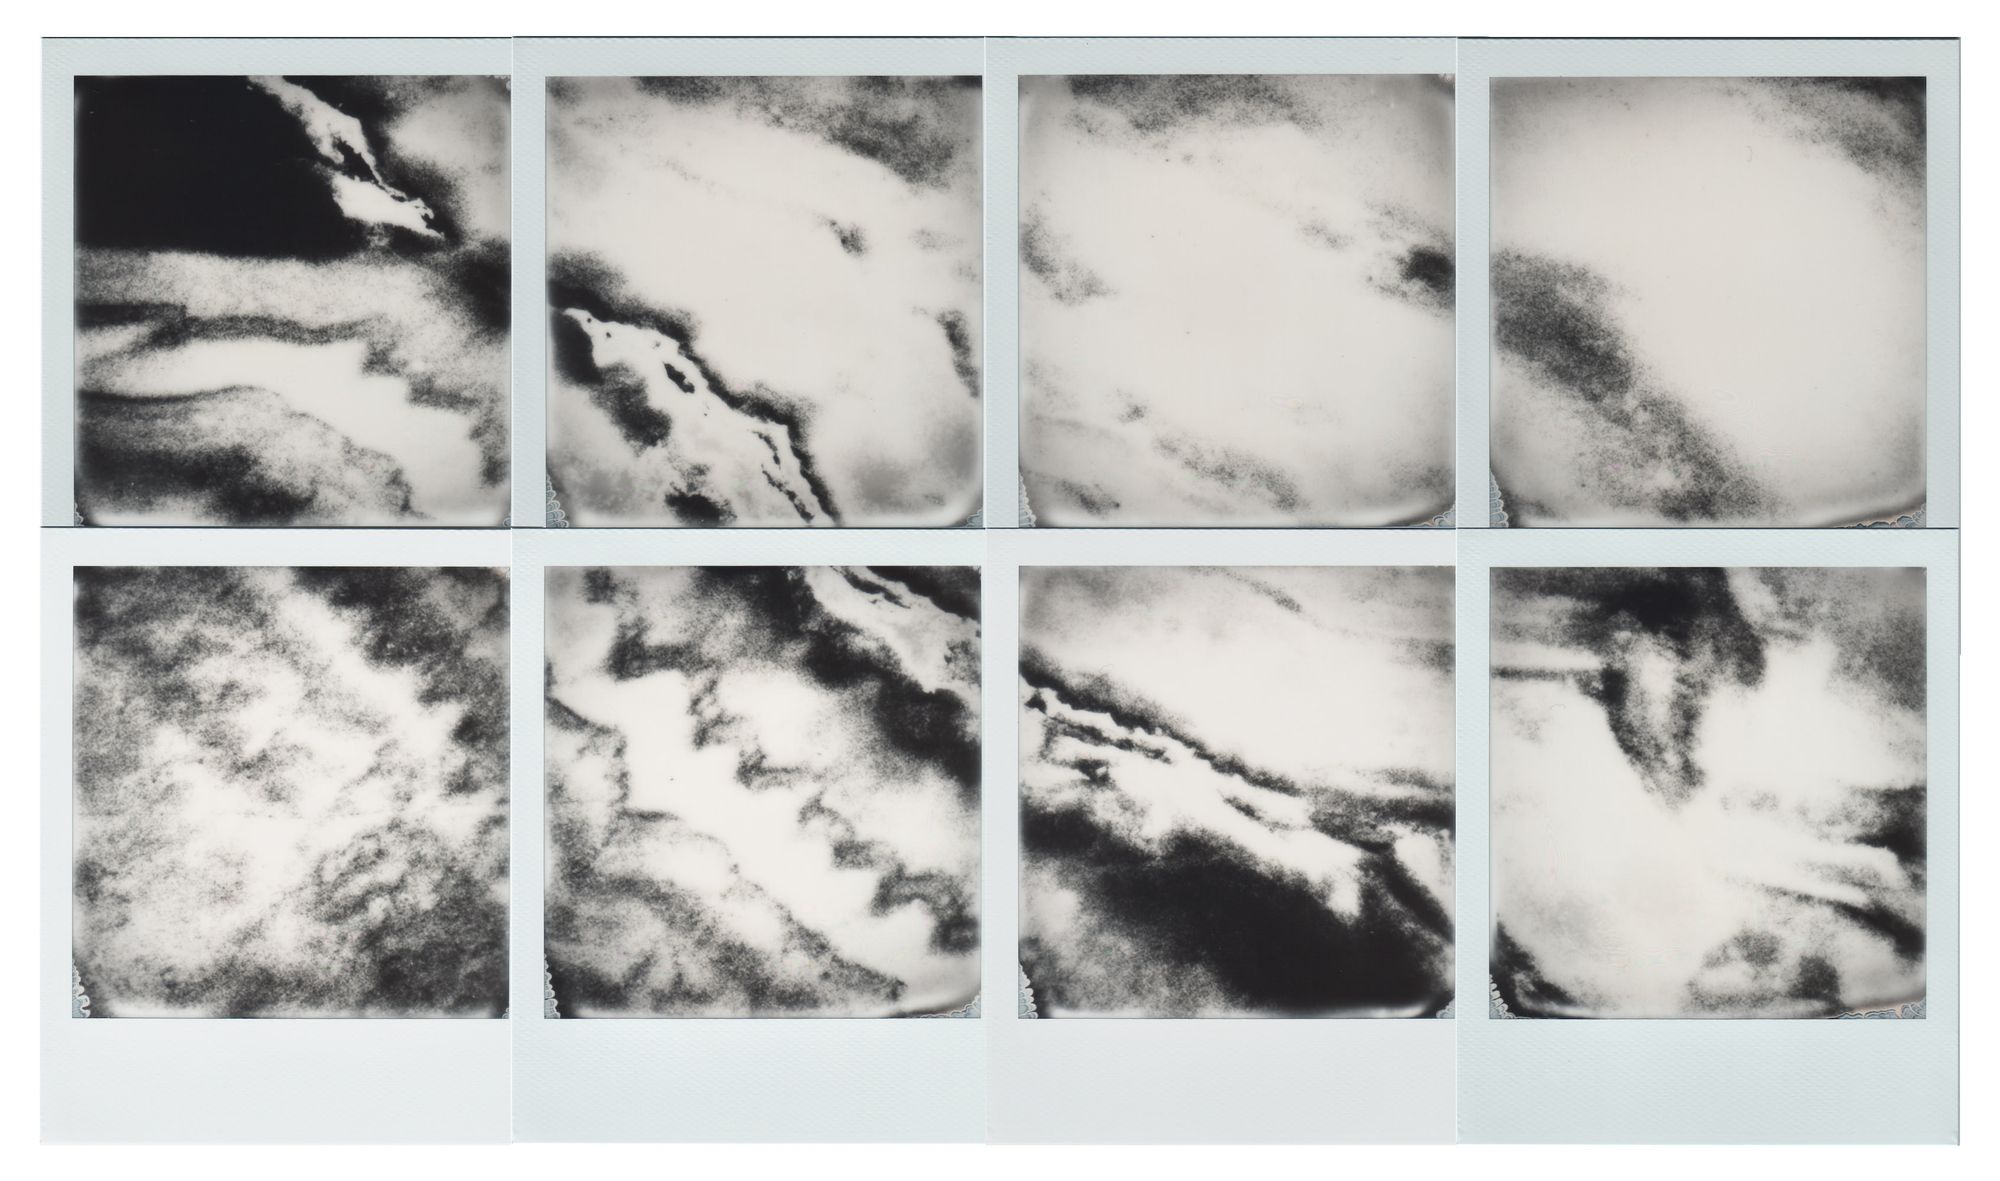
Like the other mosaics, this was easy and quick to produce.
We produced this mosaic by printing out two, 2x2 mosaics - using the PO app to crop a 2:1 source image.
As we were cropping the image in the app we did notice that the app doesn't crop a perfect sqare image, and uses an image that is slightly taller than it is wide to expose the film. As a result in the 4x2 mosaic above, we did lose some information in a strip down the middle of the image so the alignment isn't perfect (this mosaic is abstract so it isn't as obvious).
Results
Taking a look at all three tests we're very happy with how the mosaic feature in the app works, and the results it produces. When you create a mosaic, you're essentially turning a digital image into a printed piece of art using Polaroids as the medium - which is pretty cool.
The alignment between frames is accurate, and knowing that the app does take advantage of higher quality images when creating mosaics helps when creating larger pieces.
It should come without saying, but do keep in mind that you will need to find a way to attach all of the prints together if you want to keep the mosic together as one piece.
Other Tests
After the Mosaics, we tested a few other aspects of the Polaroid Lab that many would encounter.
Newton's Rings - Will they appear?
Newton's Rings is a phenomenon in which an interference pattern is created by the reflection of light between two surfaces - in this case, the glossy surface of the Polaroid and an adjacent touching flat surface (the glass of the flatbed scanner).
Most of the faint Newton's Rings that appear in the original scan, disappear in the duplicate - due to the lack of sharpness and exposure inconsistencies while using the Polaroid Lab.
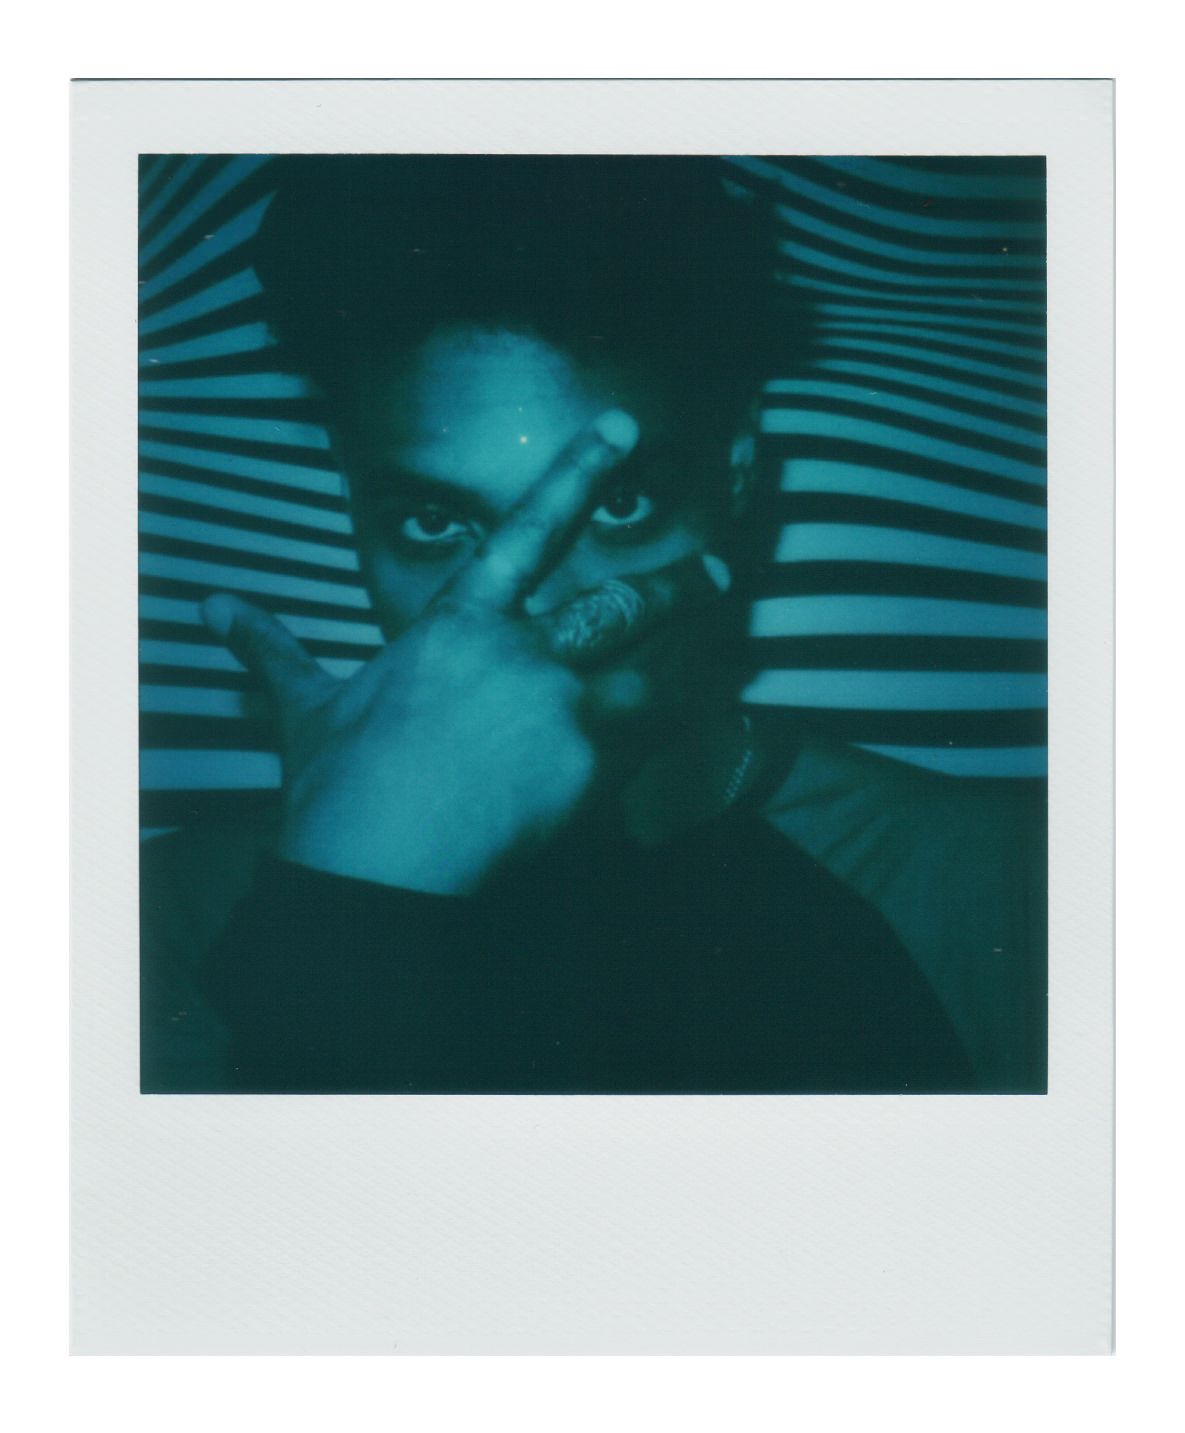
Augmented Reality Feature
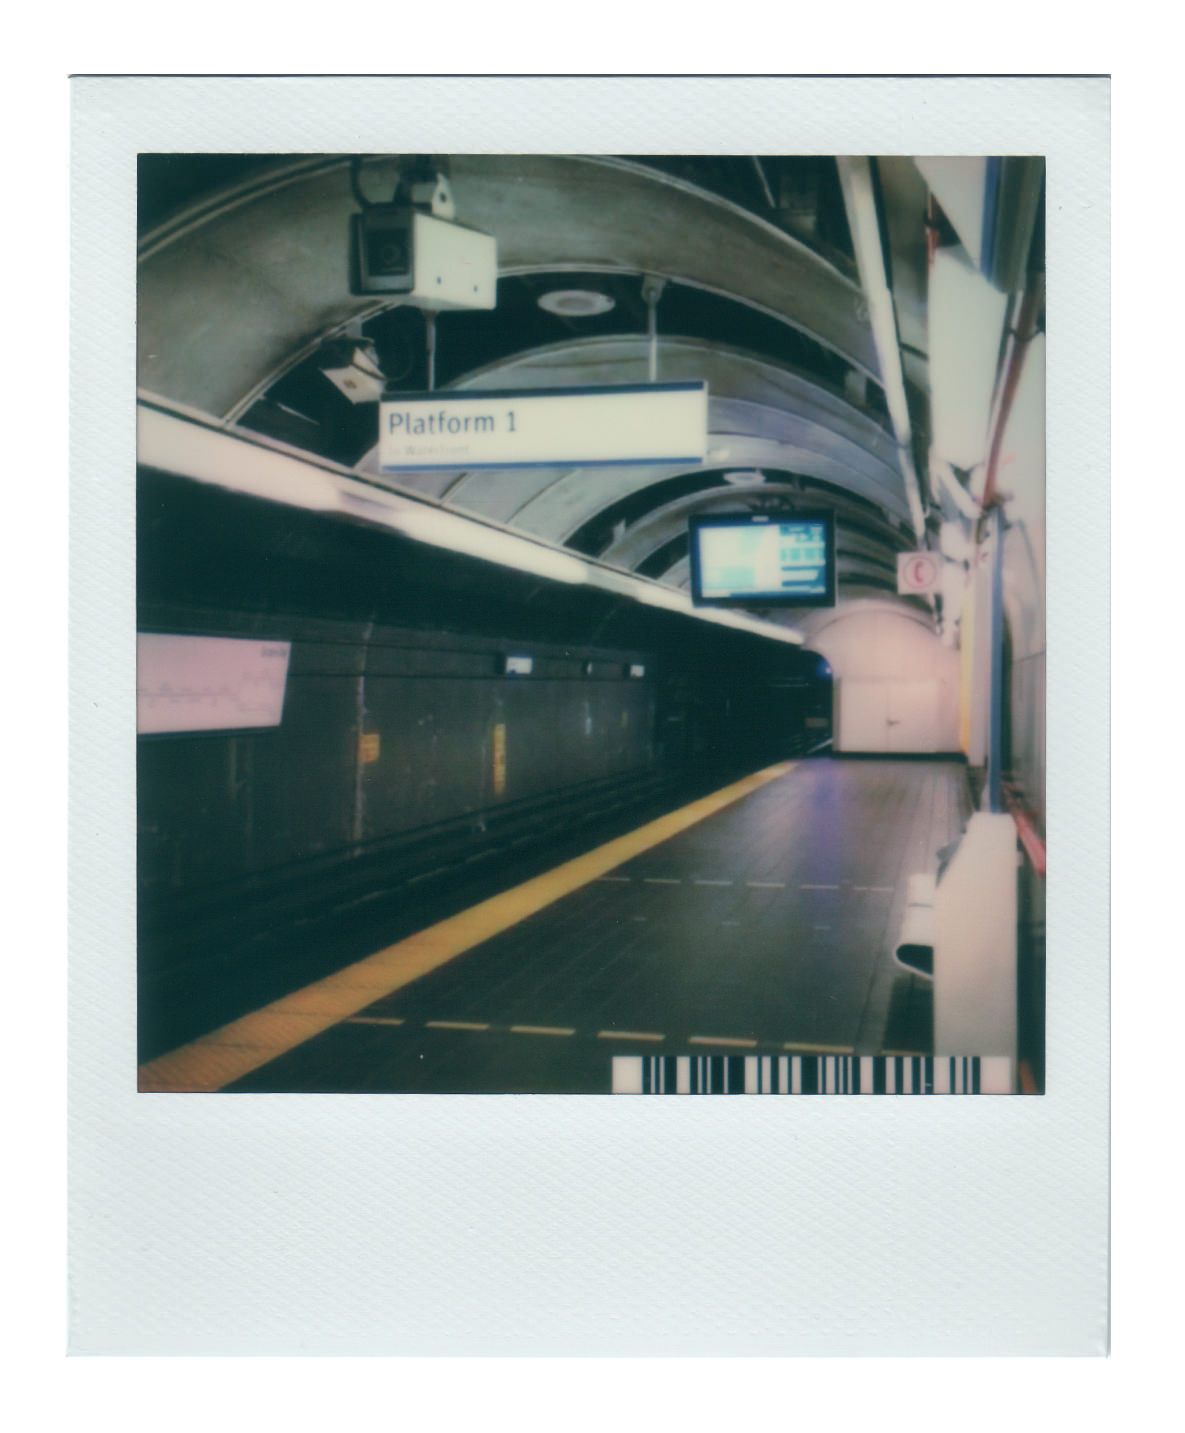
One of the more "novelty" features of the Polaroid Lab is the AR feature.
AR(Augmented-Reality) is acheived by using technology(usually smartphones) to superimpose information — sounds, images and text — on the world we see.
The whole point of the AR feature is to reveal video moments as if they were on the Polaroid - "Harry Potter" Style.
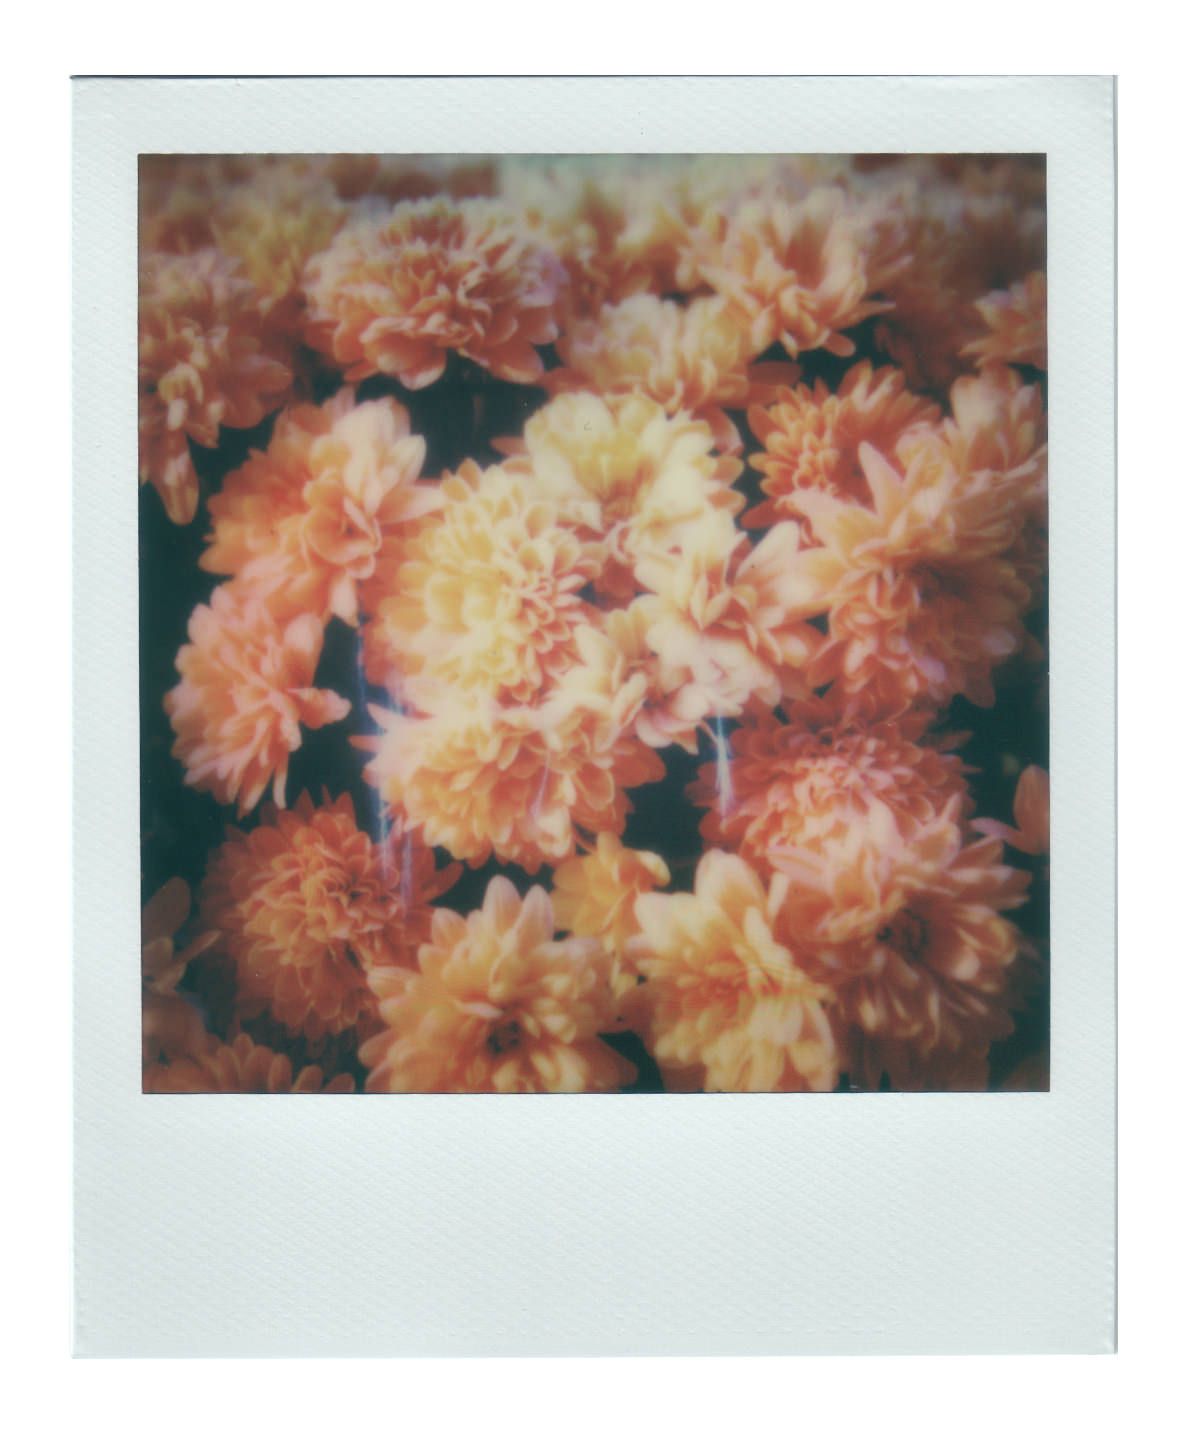
For the Polaroid Lab, this is made possible by the barcode that is printed on the photo in the bottom right corner.
Using your phone and the AR Viewer in the Polaroid Originals app, you can bring Polaroid photos to life by simply having the Polaroid in the frame. (Try scanning the Polaroid above!)
The process to create a AR Polaroid is more complex that it needs to be(with hidden menus and multiple ways to access), but once figured out it is relatively easy.
Here is a short video from Polaroid Originals on the AR Feature:
Note - While we didn't have any film with special frames, the manual does state that the AR function only works with classic white frame film.
Printing BW photo on Colour Film
Taking a look at these, we can obviously see that there is some extra colour being introduced somewhere in the process. This could be from the digital display of the phone, the lens on the Polaroid Lab, or possibly the chemistry in the film.
As a result, there isn't a way to print pure BW images on colour film using the Polaroid Lab.
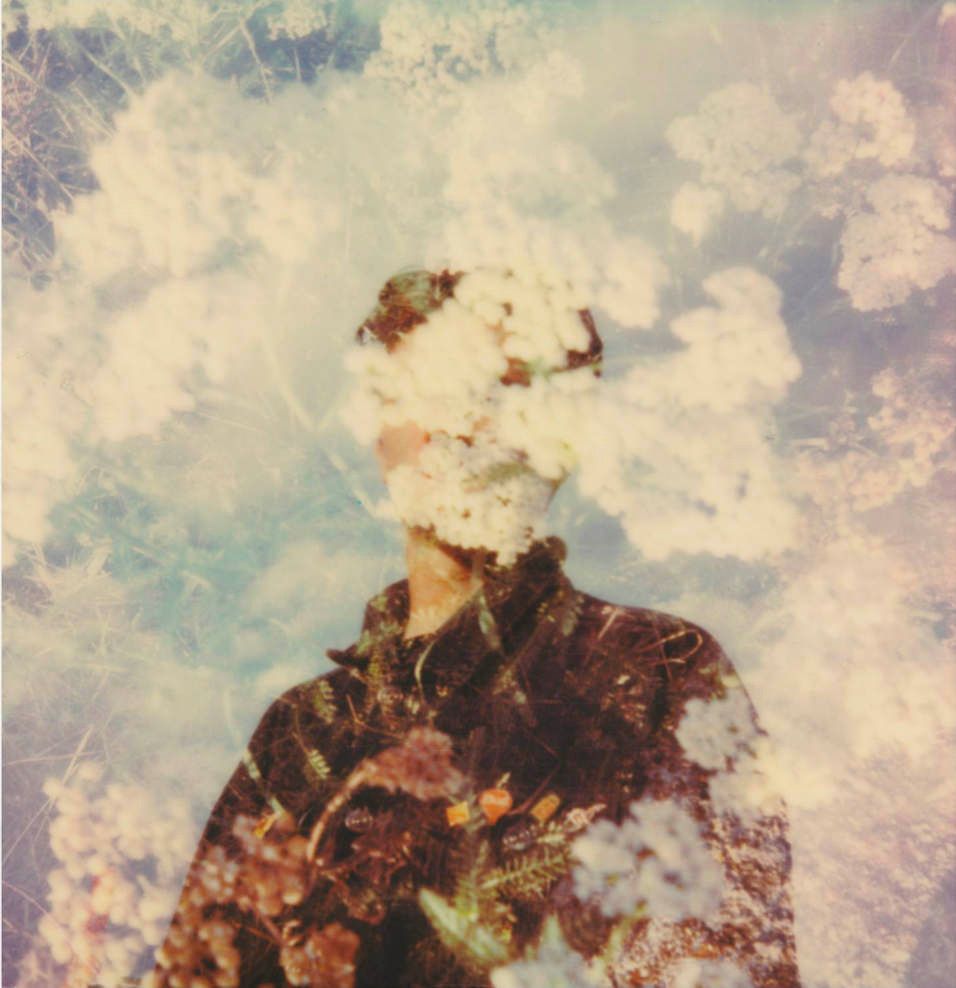
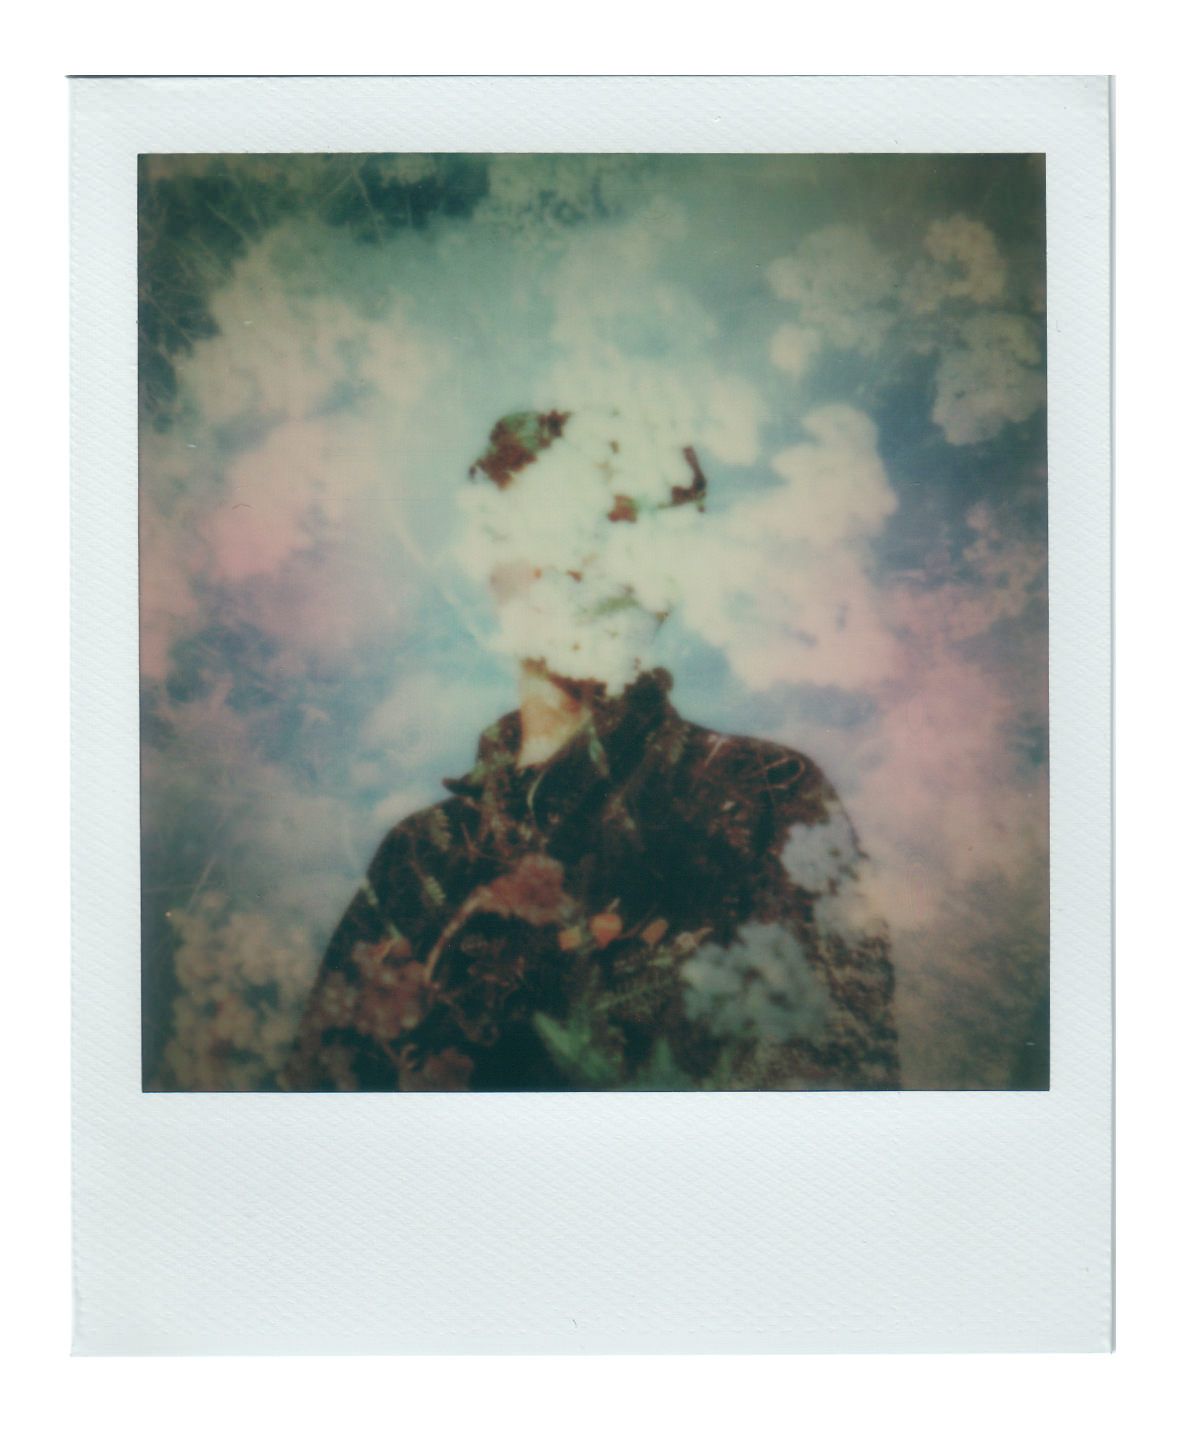
Printing a double-exposure photo "in-lab"
While producing a double exposure in photo editing software before you print it is possible, we wanted to test if it were possible to create double exposures "in-lab."
It's a simple process, but it can be tricky to achieve - with any mistakes resulting in wasted film.
- Prepare your first print using the app like you would normally.
- Place your smartphone onto the Polaroid Lab and wait for it to ready.
- Click the red shutter button and keep your finger pressed on the shutter, listen for the click of the shutter. (If you let go, the Polaroid will eject from the Lab - we don't want this)
- With your finger is still on the shutter button, use your other hand to flip the film door open.
- After the film door is open, let go of the shutter and the film will not eject. Wait for 10 seconds, and the Lab will turn off.
- After the lights on the front of the Lab turn off, close the film door and reset the unit by puching the neck back in and pressing the power button on again.
- Prepare your next print, and use the Lab as normal.
After the print ejects and is fully developed, you'll see that you have captured two(or more) images in one!
This process is very similar to the film door trick used for double exposures on other Polaroid Cameras that don't have a double exposure feature built in.
Other prints using the Polaroid Lab


Polaroid Lab Process/App thoughts
After using the Polaroid Lab through all of the tests, the process to go from digital to analog can happen pretty quick with everything being intuitiveand seamless.
The app works well and we never experienced any serious issues with the app itself. However we did crash the app a few times when loading some large file sizes to print from. We were able to re-open the app and sucessfully print the photo, but it was a slight annoyance.
When you open the app, it gives you multiple options available in the app at the bottom of the screen. When you click the Polaroid Lab option, it will display a menu to choose how many frames you want to print on. From there, everything has annotations and instructions to assist you in making your print.
Here is a video of a quick walkthrough of the Polaroid Lab Process:
Summary
Overall, we’re pretty happy with the Polaroid Lab. It maintains an experience very similar to using a Polaroid camera, and it’s pretty fun to use.
At the end of the day, it’s not perfect - with the colour, exposure, and alignment inconsistencies being the main cons. It's hard to tell which are due to the lab, or the PO film. For some, that may be a huge deal breaker as after all it is a photo printer. For us, we haven’t found it to be enough that we wouldn’t recommend the Polaroid Lab.
Pros
- Quick, fun, and seamless process to go from digital to analog
- Acceptable results for most prints
- About as sharp as most Polaroid Cameras
- Lots of mosaic arrangements (however no 8 photo mosaics available in-app)
Cons
- Strong vignette on prints
- Inconsistent exposure
- Cropping error that happens when exposing the film
- Green cast introduced in shadows on some prints
- On the film itself - colour reproduction is poor compared to other printers, like Instax
- Can use up film very quickly without thinking about it, which can get expensive
If you do purchase one, you should keep some things to keep in mind:
- Upon arrival, it came with very little charge out of the box - only got one print.
- Sometimes the audio cues from the device/app don’t always sound, however the visual cues on the Lab itself are good enough.
If you would like to purchase the Polaroid Lab, it is available from Polaroid Originals Website and most Big-Box retailers or camera shops for $129 USD.
Is there anything we missed in the review that you would like to see? Let us know in the comments below!
Polagraphic is a community-driven publication with the goal of spreading knowledge and bringing us together around analog photography.
How can you be involved?
You can engage with us and share your work using the hashtag #polagraphic on IG & Twitter, or if you have more to say - you can submit your own articles to be published on our blog.
If you have an idea for an article or topic that you would like to see in our print edition, please Contact Us!